We’ve looked what an issue is in Jira and how to create them. It’s great to be able to track our work as issues in Jira but the real power comes from Jira’s ability to group, organize and categorize these issues. When you start to get into 100’s, 1000’s or even 10,000’s of an issue the ability to focus just the issues you need becomes absolutely critical.
Each Jira issue records a number of key pieces of information that allow us to categorize the issues. Those pieces of information can include the following:
Project
Components
Releases
Priority
Status
Labels
Assignment
So, for example, you might have an issue that is part of a particular software project, that is related to the API component in that project, part of release 1.0, is of a high priority, is still in a ToDo state, has been labeled as associated with ‘Team XYZ’ and is assigned specifically to Jo Bloggs. We could search in Jira based on all of this criteria and we’d find our specific issue and also any other similar issues.
Whilst we’ll look at all of these criteria (e.g. components, releases, etc) in future modules in this module we’ll look specifically at Projects.
In Jira, one of the first things we have to do is create projects. A project in Jira is just container for a lot of issues. It’s the top-level container. Every issue must be assigned to one (and only one) project.
For example, we may have Jira installed for our company ACME. Within ACME we are running a number of different projects to cover new software system to enhance our ‘Delivery System’, our ‘Accounting Systems’ and our ‘HR System’. Within Jira, to track issues related to each of these areas we’d create separate projects for each system. Then issues (or pieces of work) that need to be tracked against our ‘ACME Delivery System’ are all linked to this project. When we view this project in Jira we’ll see all of the issues related to ‘ACME Delivery System’ all neatly listed under this project.
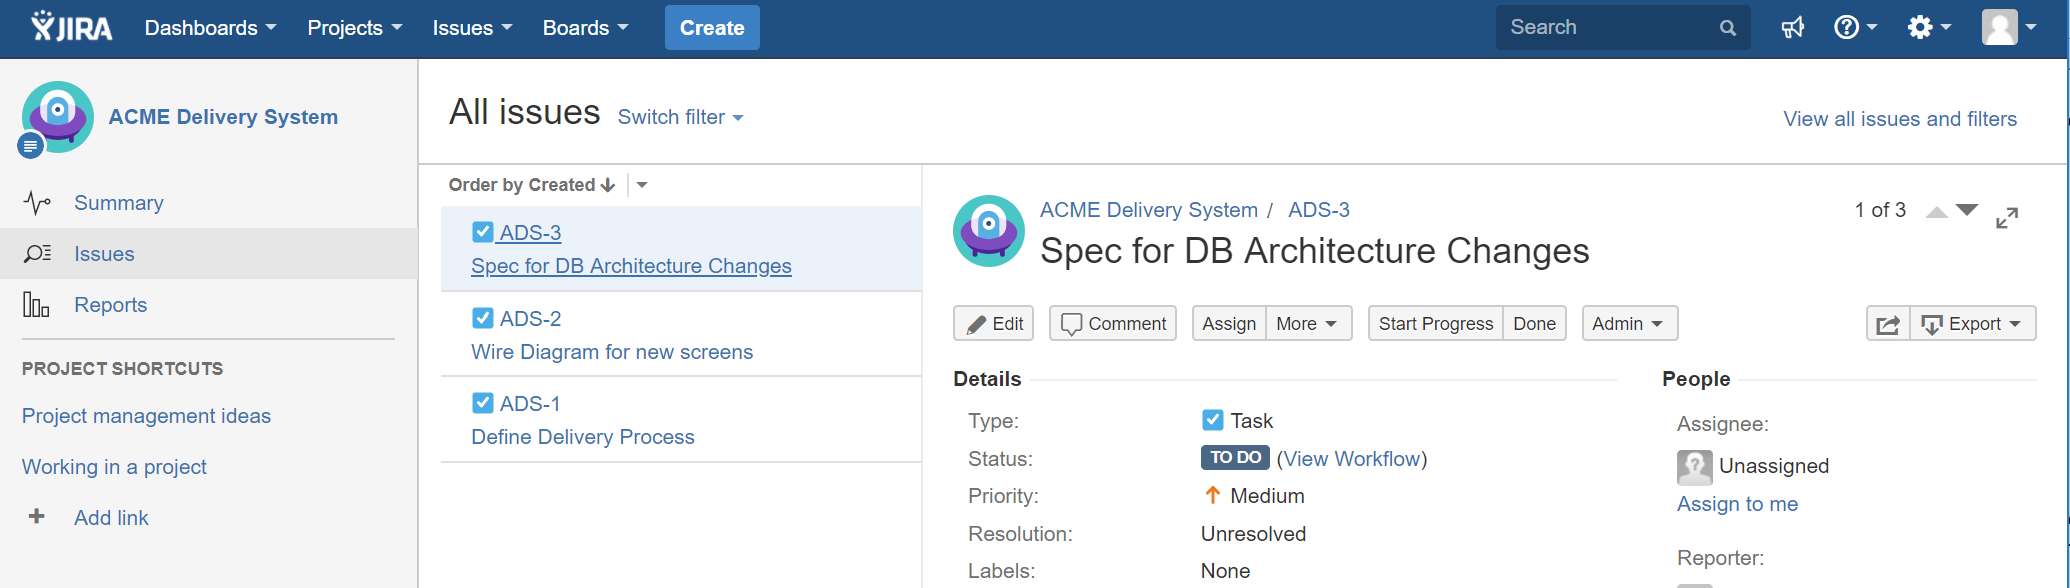
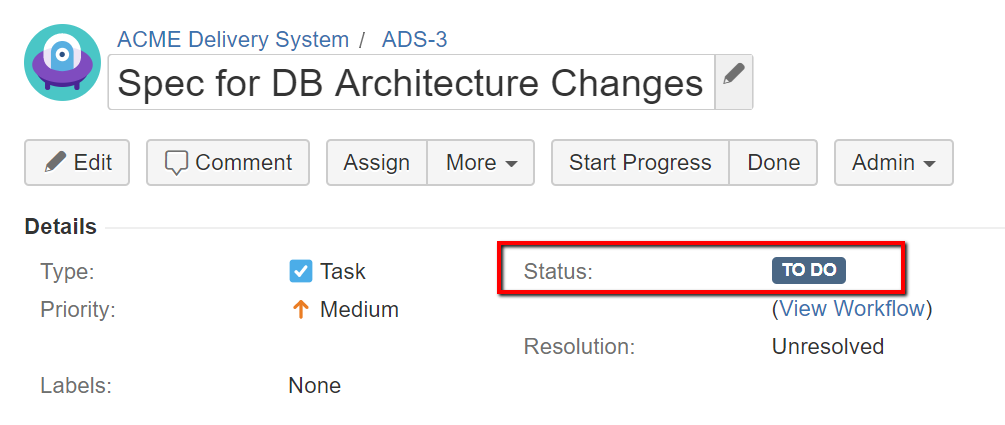
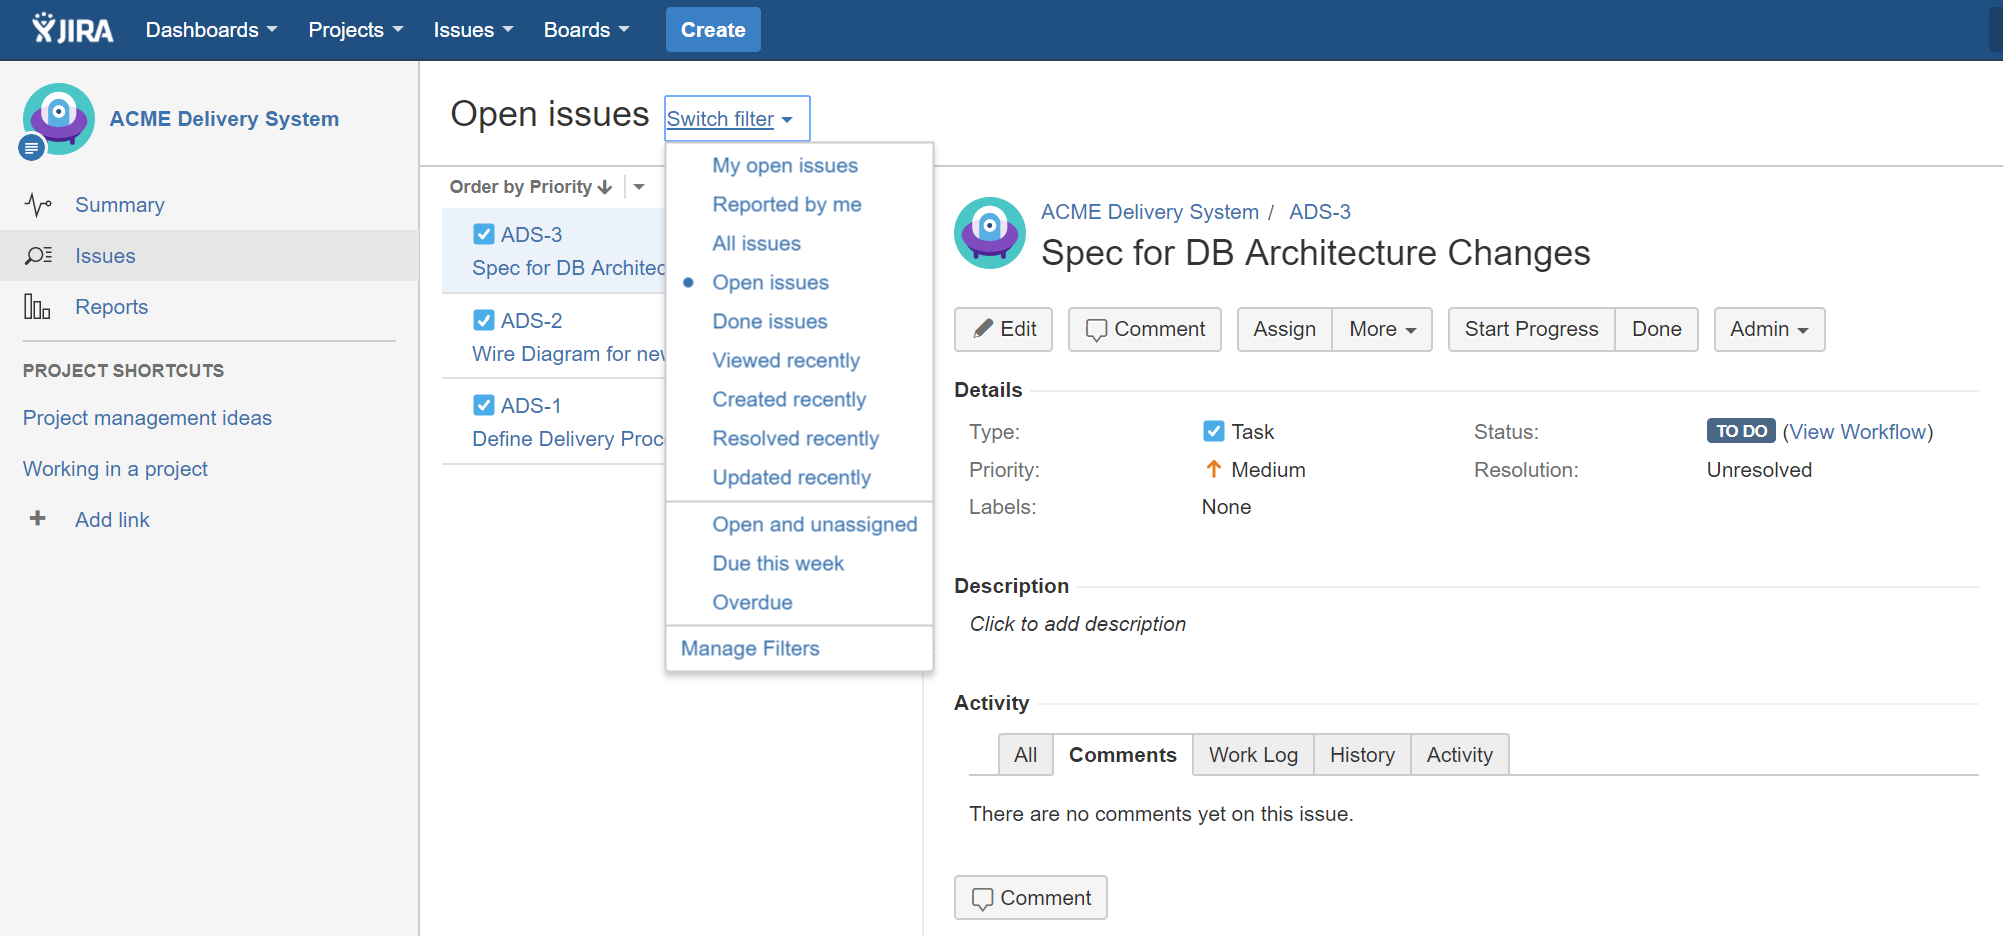
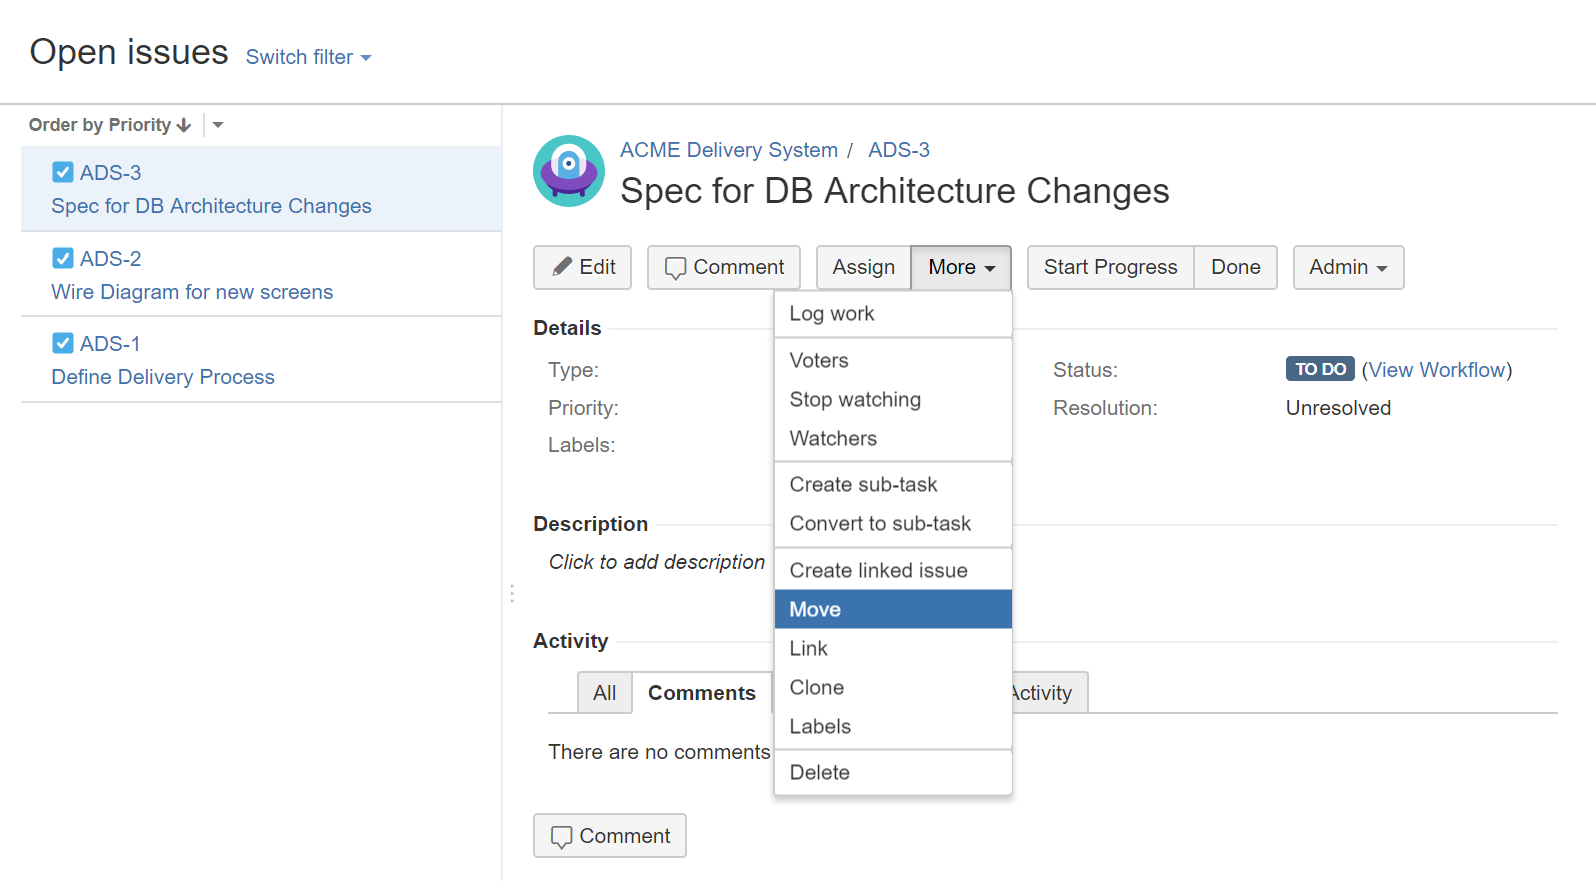
In the example above we can see that we’ve selected the ‘ACME Delivery System’ project (see top left). In the middle column, we have a list of all three issue that has been created within this project. And on the right, we see the detail for the selected issue (issue ADS-3).
In the next few sections, we’re going to look at how to create projects, the different types of projects that Jira supports and how we link issues to projects.
Starting out then we’ll want to create a new project. You’ll need administrator rights/privileges for this. However, if you set your system up as we described in module 1 you’ll have this automatically. It’s not difficult to find the new project option to get started…
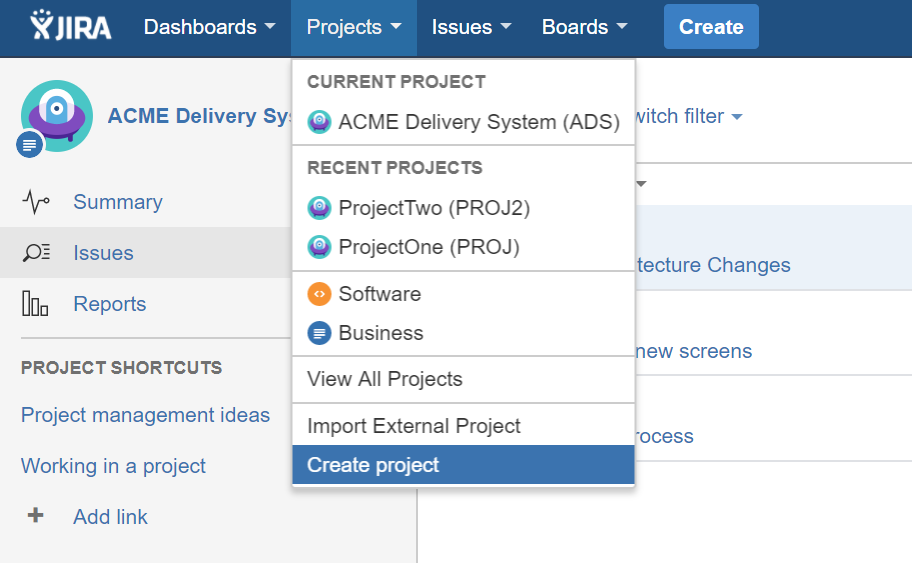
What might be a little more confusing is what you do after this when you’re presented with the project creation options:
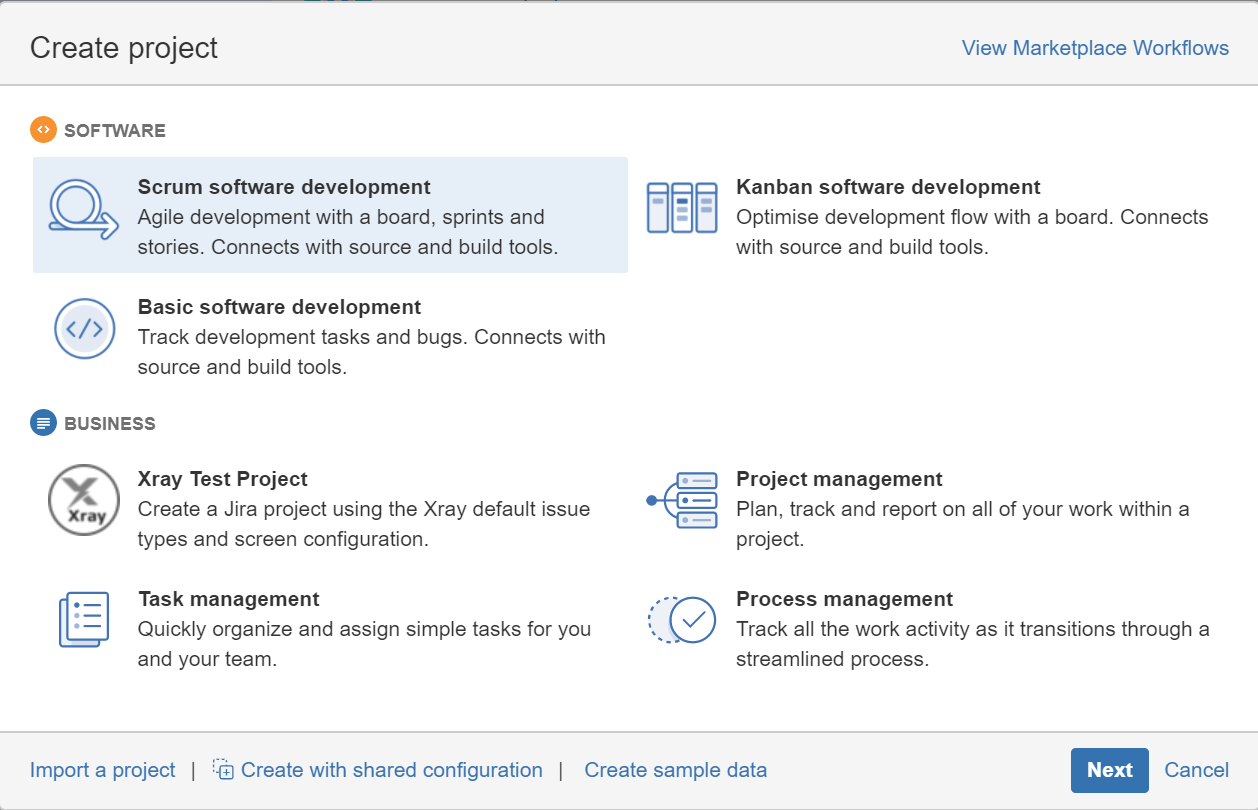
What this gives us is the ability to start out with creating projects based on pre-defined structures and workflows. We’ll talk about these in more detail soon but for now, we’ll start out with ‘Project Management’

This will give us a simple (but not too simple) workflow for our tasks. This is one of the key things with different types of projects. The workflow. There are also the types of issues too. In this project will have issue types of Task and Sub-task.
When you click ‘Next’ on the ‘Create Project’ dialogue box you’ll see the workflow that your issues in this project will travel through…
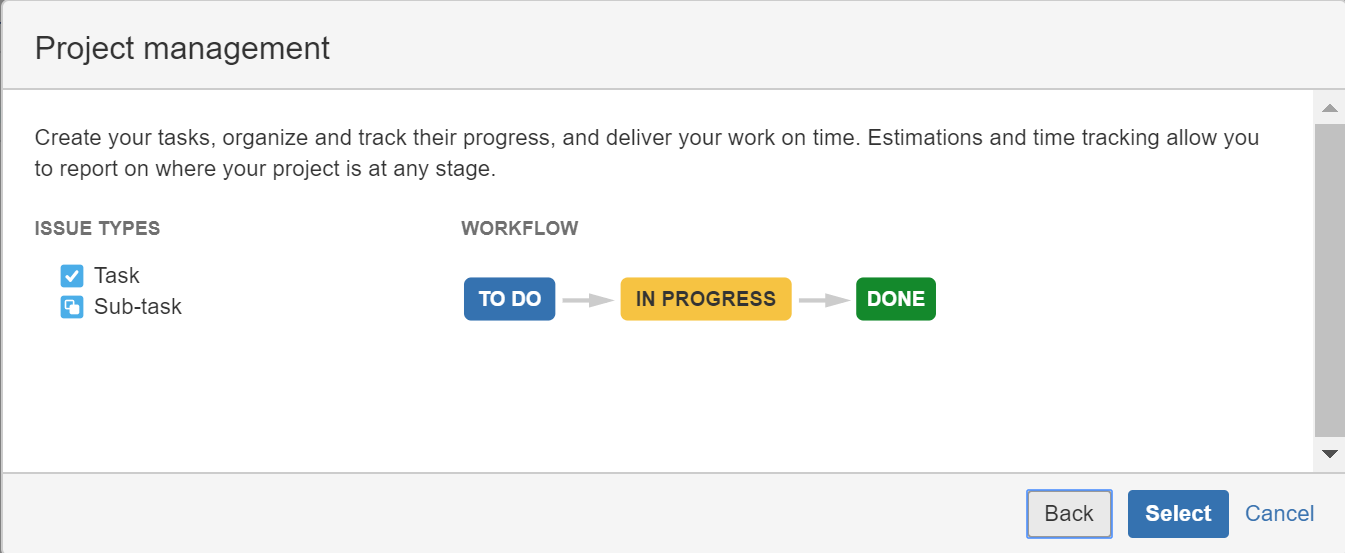
In short (and much much more on this to come in a future module) the workflow associated with a project dictates the status values that an issue can have. It also dictates the statuses that those issues can travel to and from.
For example in the workflow above a new issue will always start out with a status value of TO DO. You see this when you first create your issue.
When you start work on this issue you’ll move it to IN PROGRESS. Once you’ve finished work on this issue you’ll move/change the status value to DONE. In this way you can search and find all your issues with these different status values – for example, you can search for all issues in your project that are IN PROGRESS.
Pretty simple but as you’ll see later this can (and will) get much more complicated.
Anyway, where were we? Oh yes… creating our first project. We selected the project type of ‘Project Management’ which comes with a simple TO DO, IN PROGRESS and DONE workflow.
When you’re on the workflow dialogue box click the ‘Select’ button and you’ll be prompted to enter the project name and key. Start out with the project name (e.g. ‘ACME Accounting Systems’).
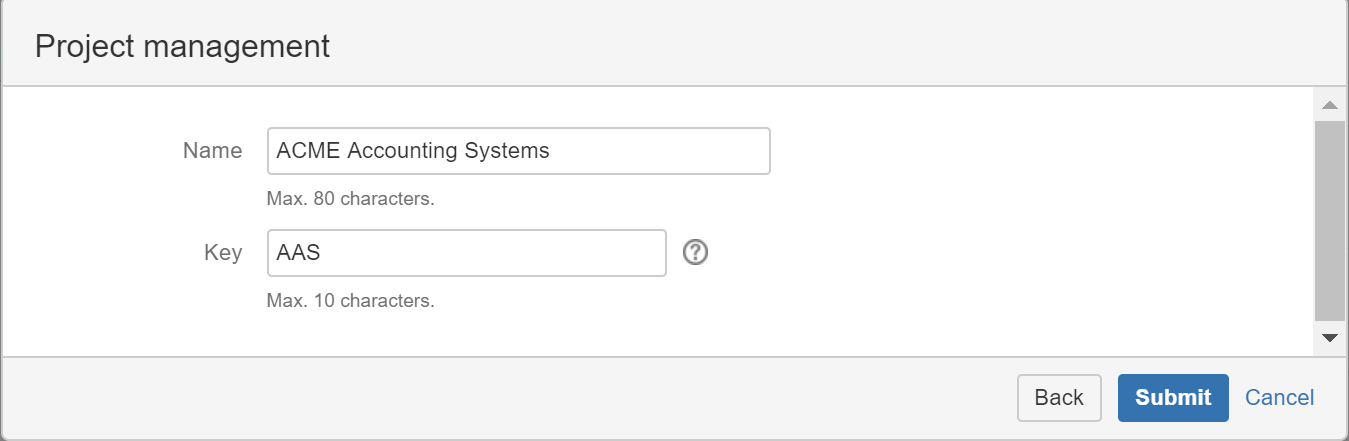
You’ll notice that as you enter the Name Jira will automatically come up with a Key for you. Basically, the key is used as part of the unique identifier for all your issues created in this project. For example, in our project, our unique identifier for the first few issues we create will be AAS-1, AAS-2, AAS-3, etc.
You can change this key if you want but it’s best to keep it to three or four characters (later on you’ll find it easier to refer to issues with short unique identifiers).
Click Submit and you’ll have created your first new project (err… second if we’re being pedantic and counting the project that was first created when we installed Jira).
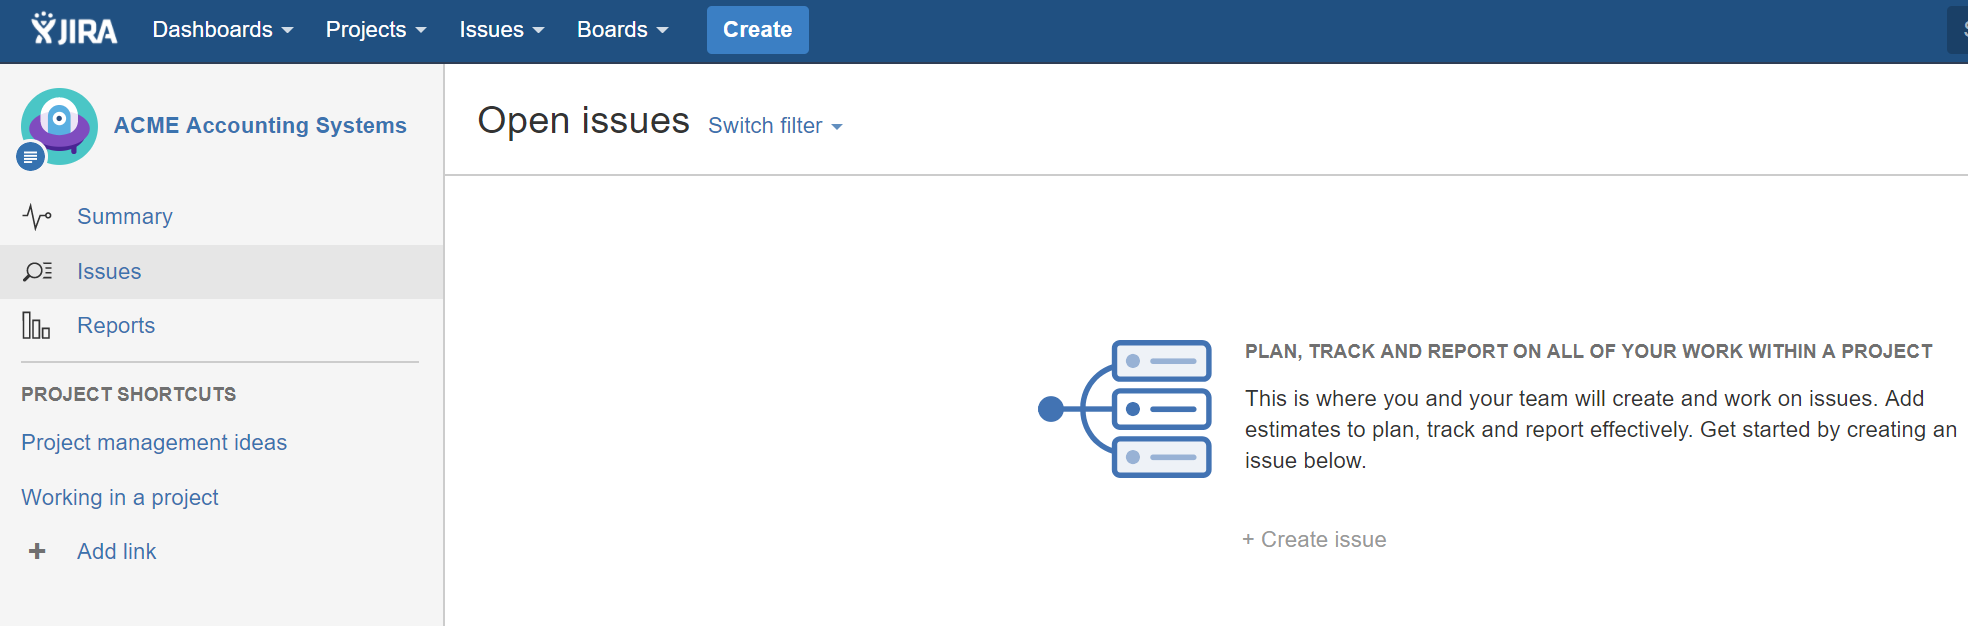
No issues listed in there yet but the project is ready for us to start creating them. Go ahead and create your first few issues within this project by clicking on the ‘Create’ button. All new issues will automatically be associated with this project at the moment.
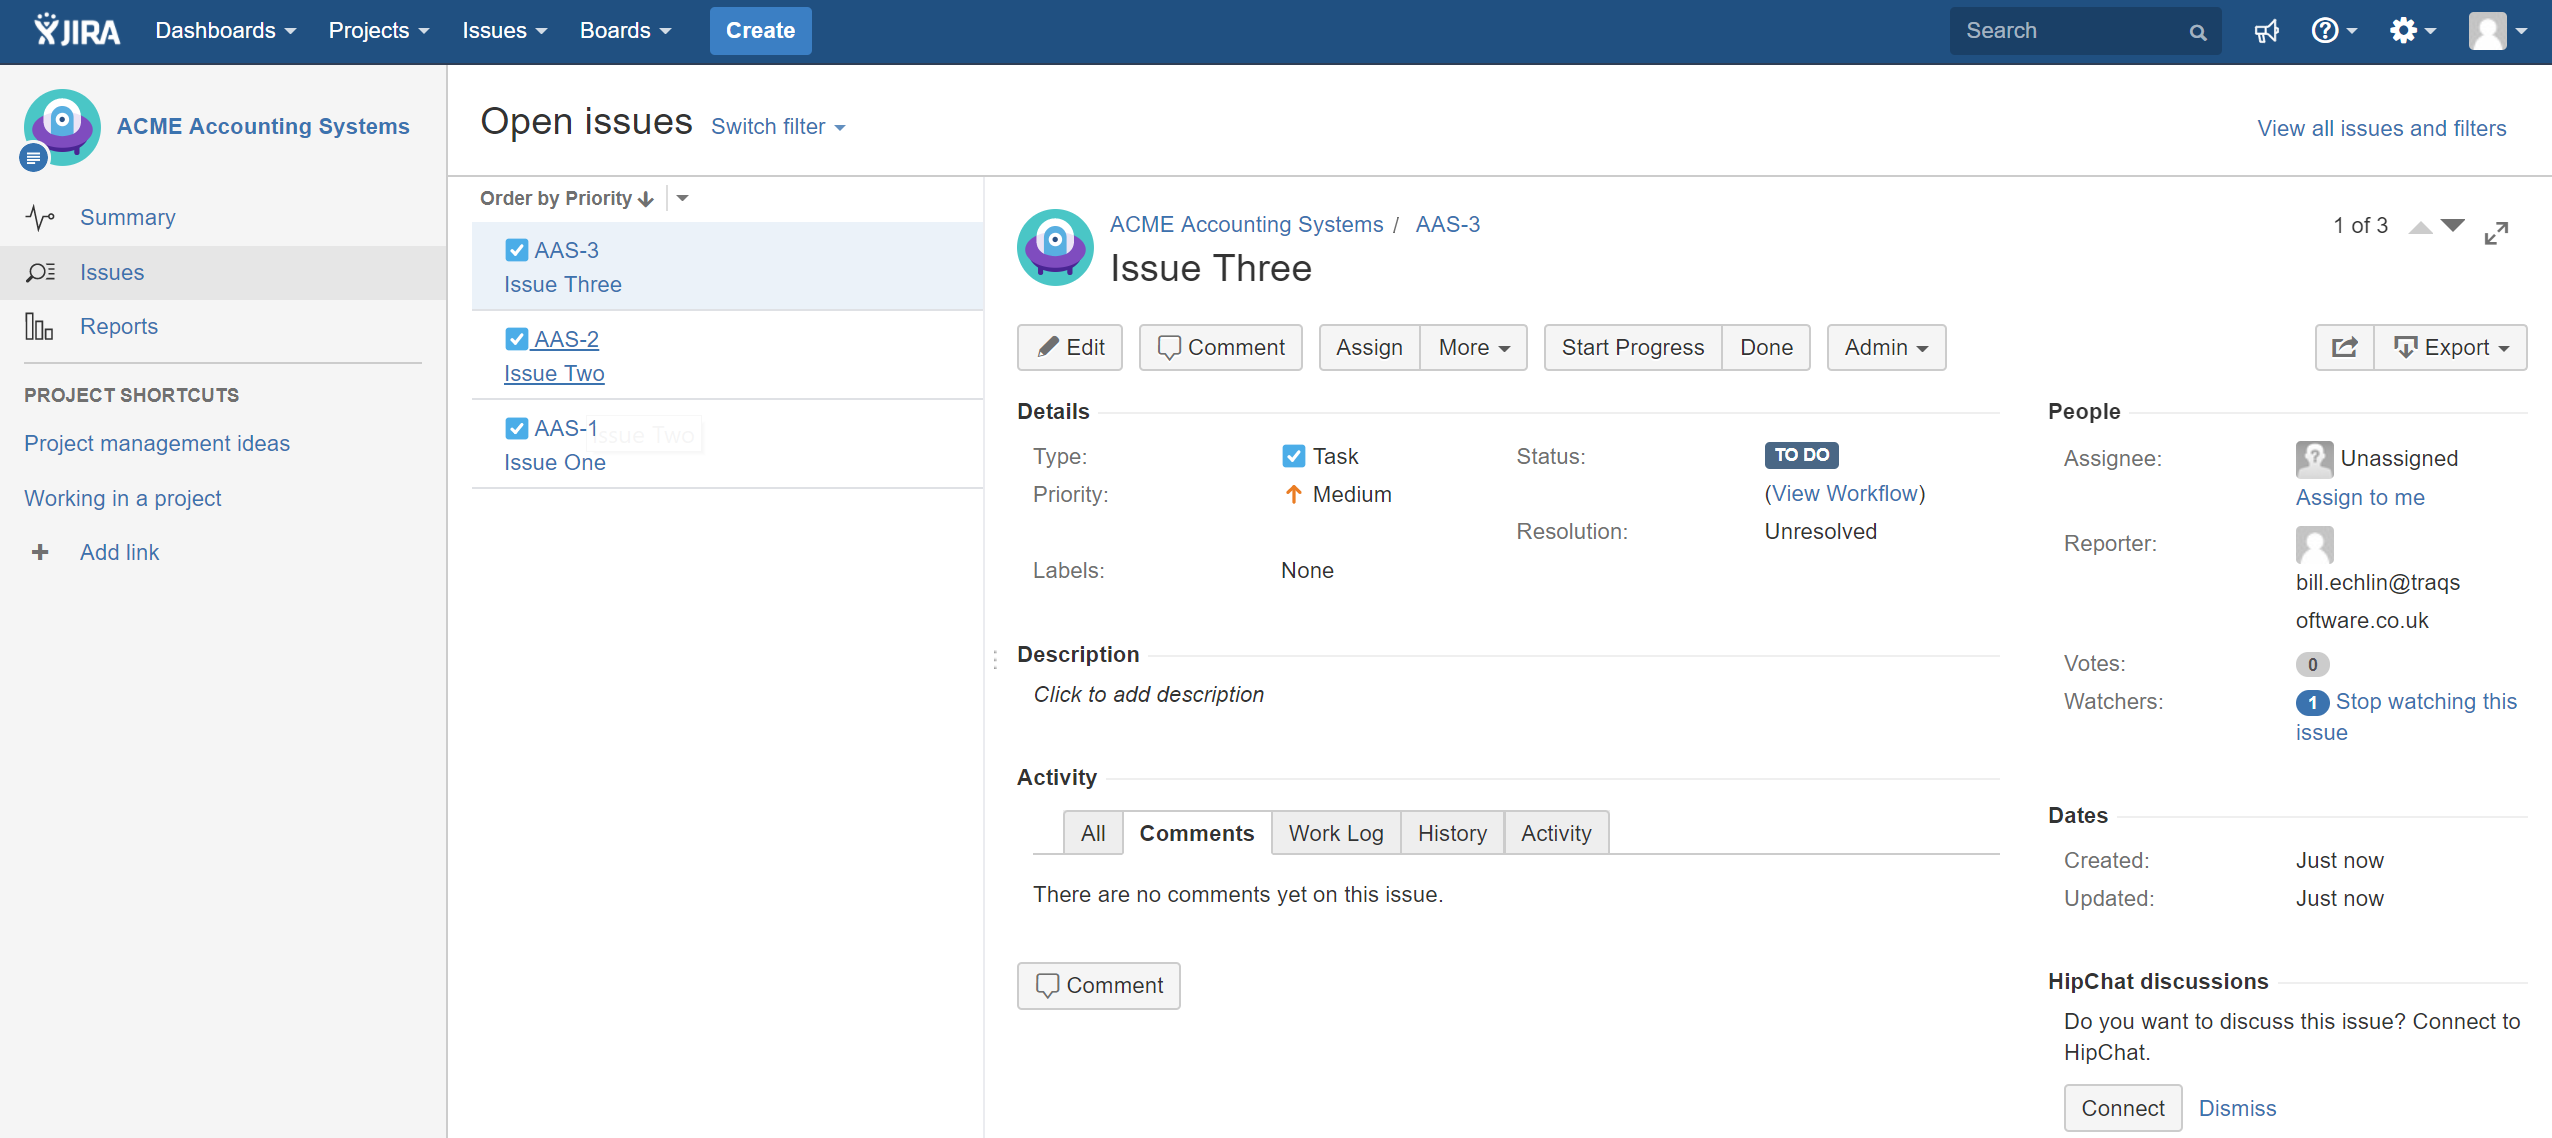
When you refresh the page you should see all your issues associated with this project listed:
So what can we do with this project?
Once we’ve created a project we then have the capability to create issues in that project. Remember that a project is just a bucket for the group of related issues. So many issues can belong to one project.
It’s important to realize that an issue can’t belong to multiple projects though. You can move an issue to a different project or you could copy an issue to another project, but an issue can not reside in two projects at the same time.
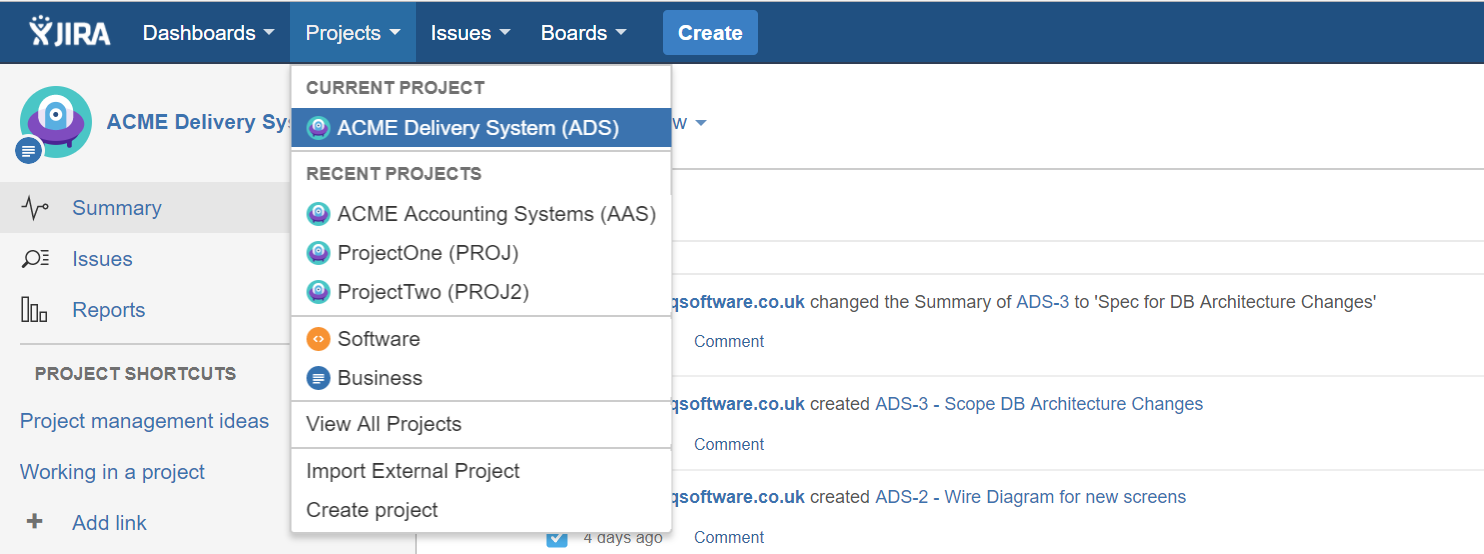
You can select the project you want to work in from the ‘Projects’ drop down menu:
Once you’ve created the project and selected it you can start to do things like view a summary of our project, search for certain issues within that project and report on the issues in that project.
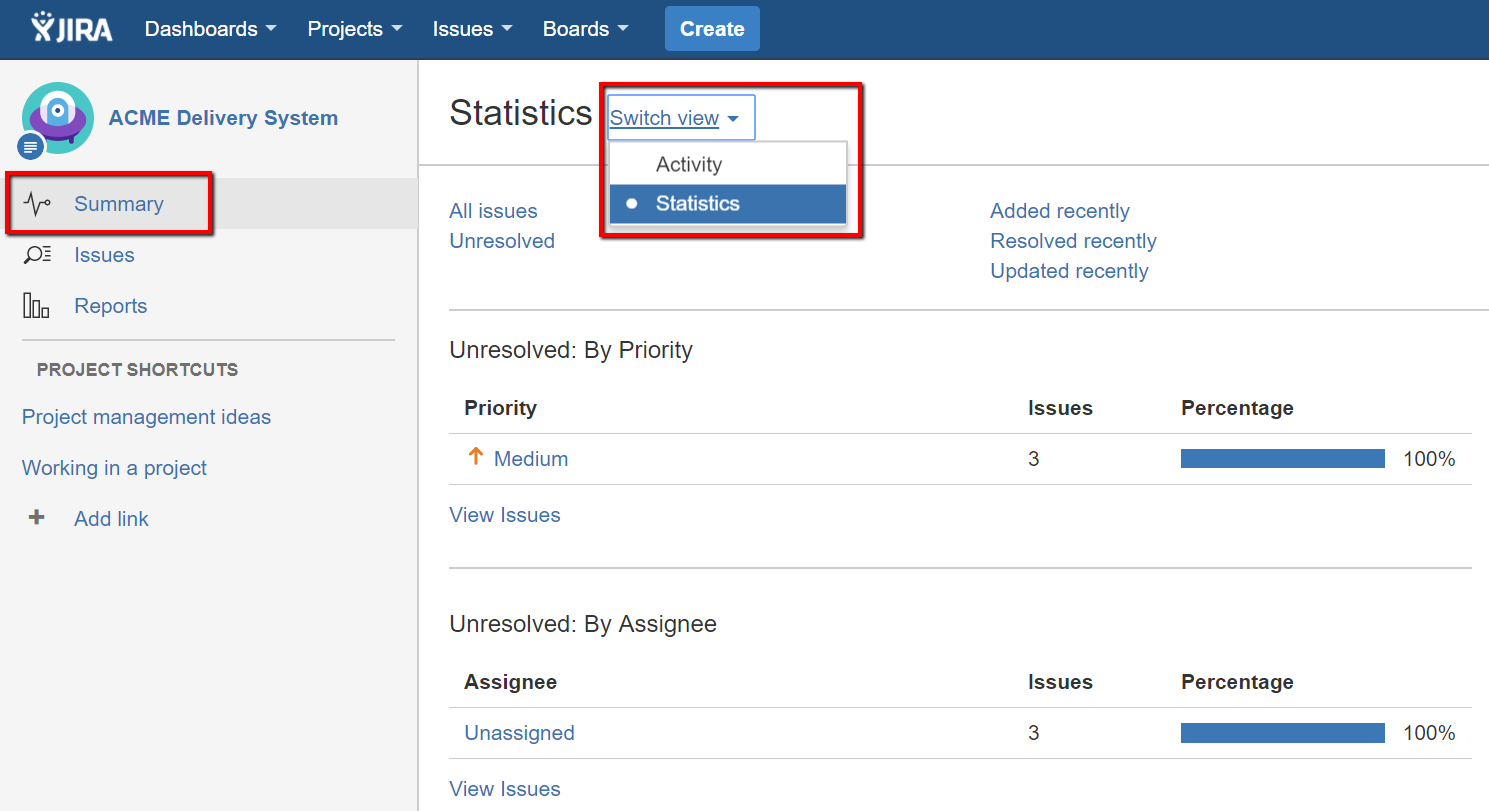
For example, if you click the ‘Summary’ option in the left menu and then pick the ‘Statistics’ view you can see a break down of your issues by their relative status values.
If you select the ‘Issues’ option in the left menu you then have some pre-configured search filters that will show you lists of your project issues based on things like ‘Open Issues’, ‘My Open Issues’, etc
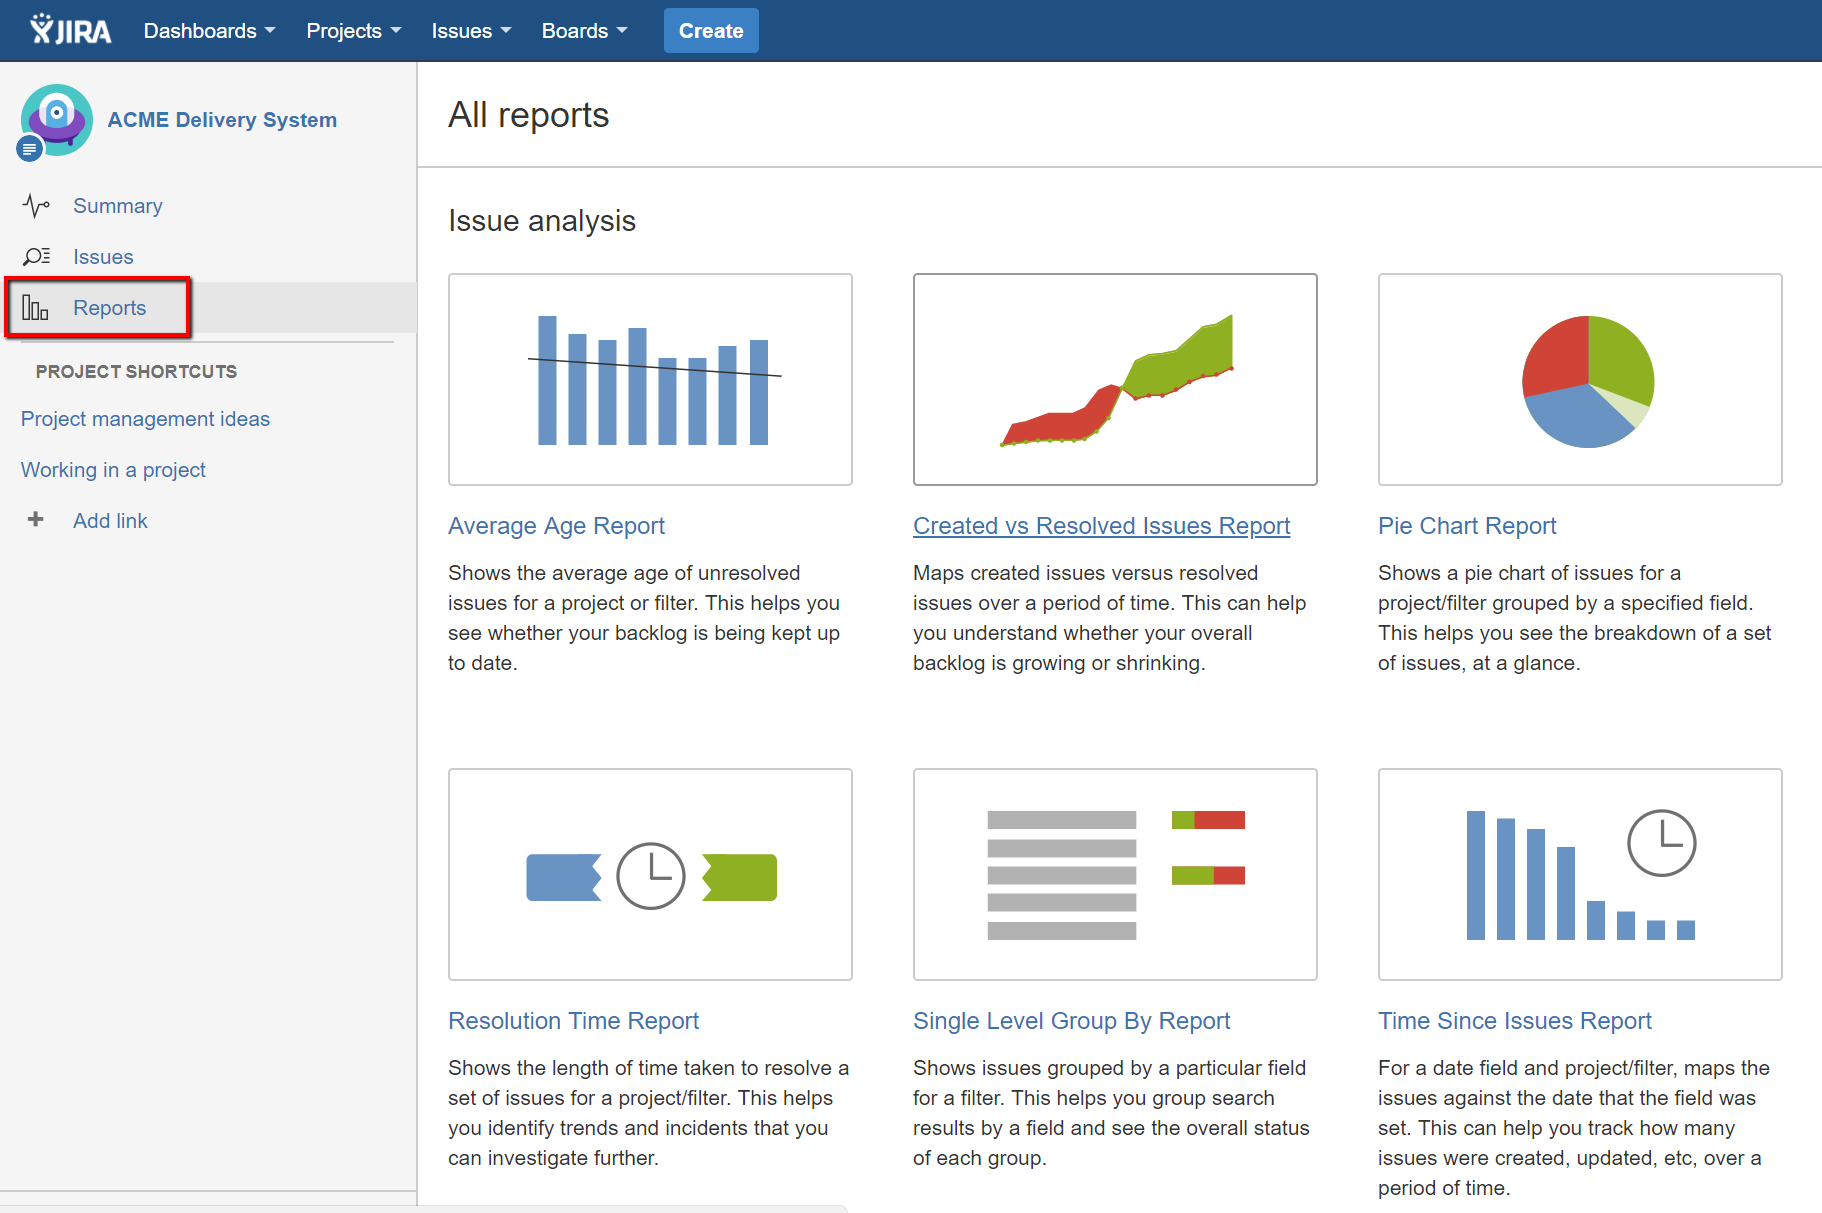
And if you select ‘Reports’ in the left menu you get to select from a list of graphical reports available from within Jira
All of these capabilities based on the one project that you want to focus on at this point in time.
If you want to move an issue to another project that’s pretty simple. When viewing the issue just select the ‘More’ drop down followed by ‘Move’.
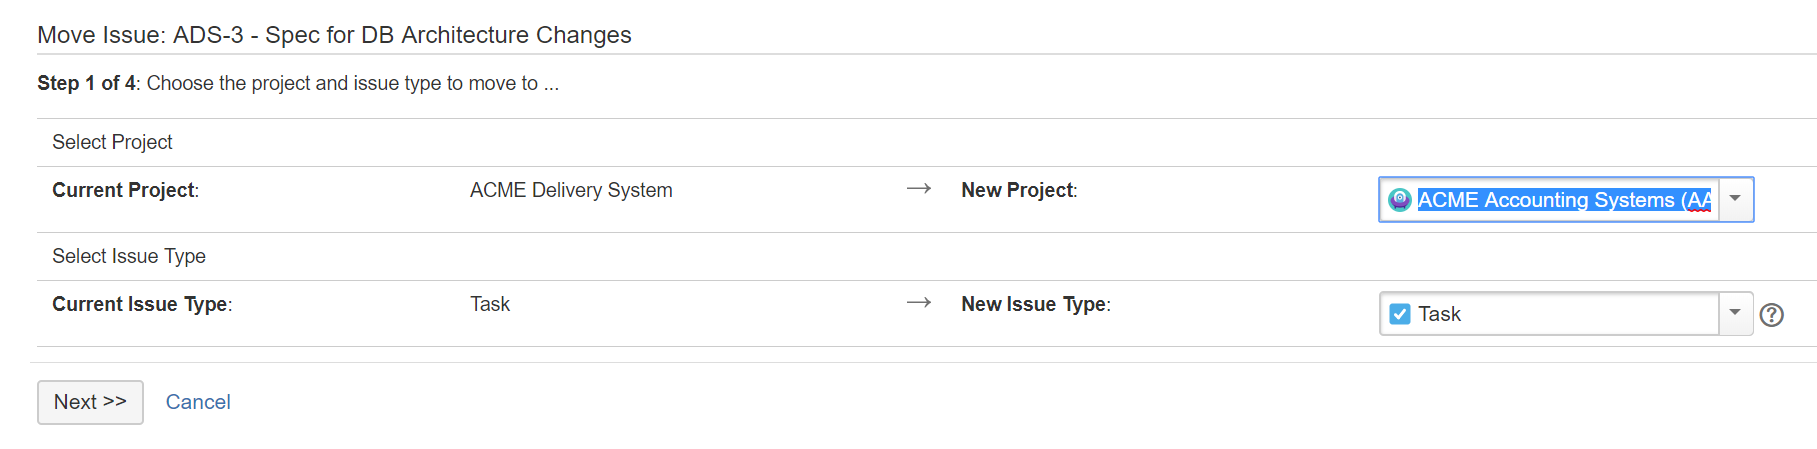
From here Jira will walk you through a few screens asking you to define some o the details that need updating during the move. For example, you’ll need to specify the new project and the issue type within that project.
It’s a similar process for Cloning (copying) issues too. Just select the ‘Clone’ option on the ‘More’ drop-down:
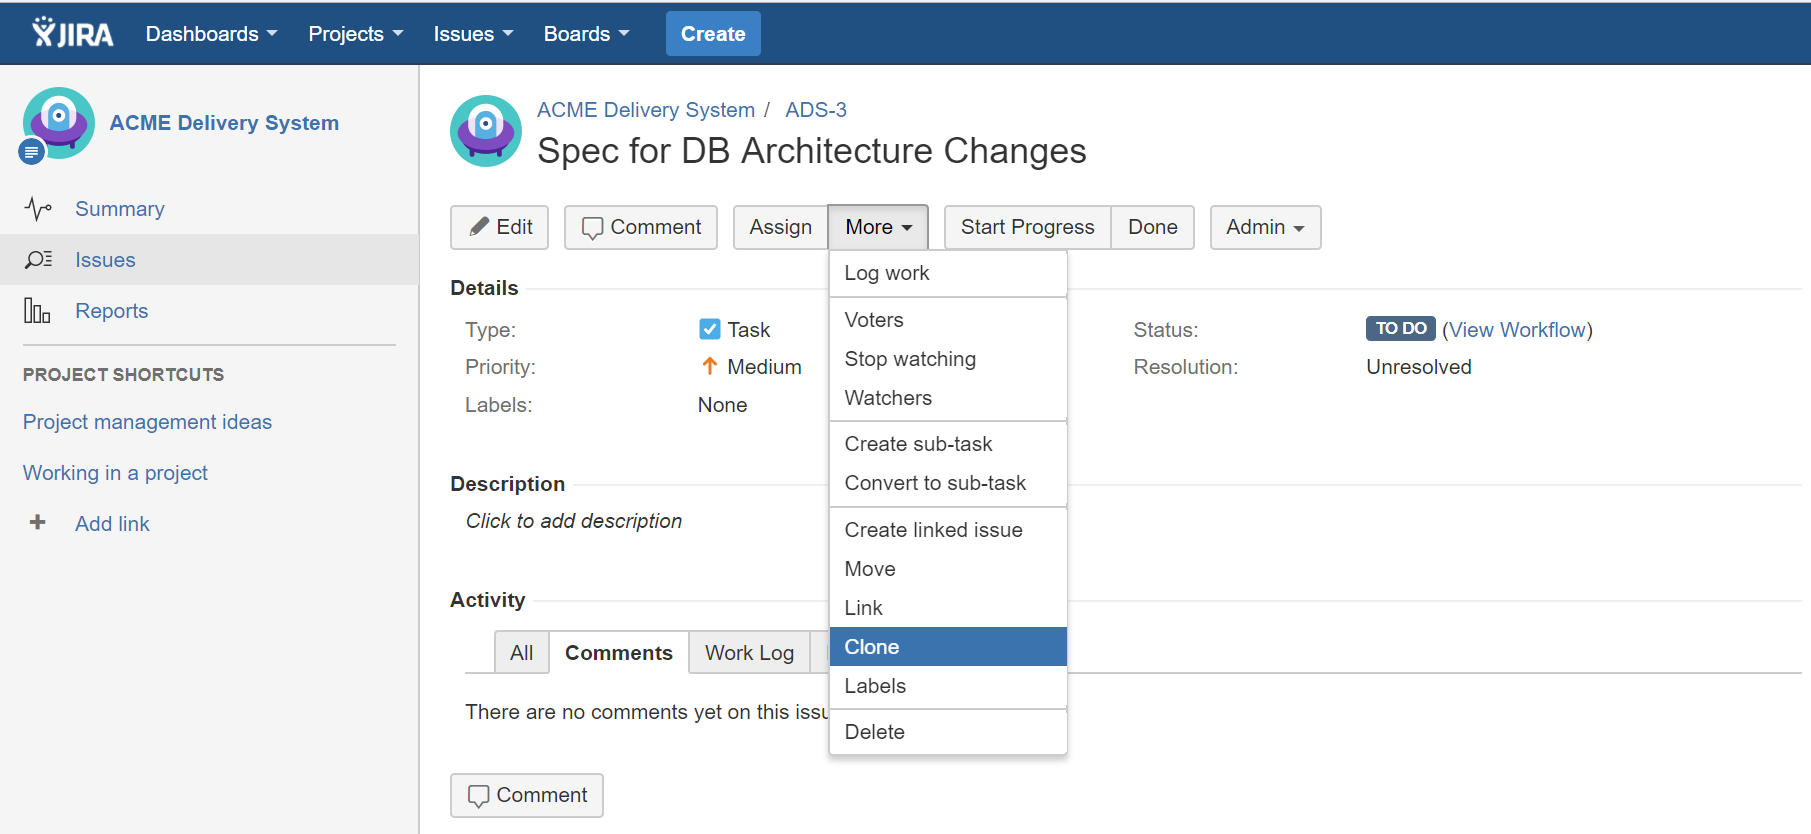
And from here Jira will ask you for a new Summary for the new issue and then Jira will create a new issue in the same project (you’ll have to ‘move’ this issue to another project as a separate step if you need Clone an issue into another project).
So a project is just a way of grouping our issues. Keep in mind too that Jira also allows us to set access rights and user privileges on a project by project basis. You might want a set of users to only have access to one project and not allow them to view issues in someone else’s project.
This coupled with the ability to define our own issue workflow, issue types and issues status values in a project make a project a highly customizable entity. A customizable entity that we can mold to fit our real-life way of working on a project.
We’ll come on to customizing our issue types, status values, and workflow in a later module. For now though so long as you understand how to create a new project and work with issues within a project you’re off to a good start.