We’ve put together a series of 6 training modules that make up an introduction to Jira course. This course is focused on the basics of Jira. We’re covering the core concepts, the building blocks, that makeup Jira. This isn’t focused on any particular development methodology (like Agile) and we don’t go into configuring/using Jira to manage Agile projects here. We’re leaving that for a separate course. What we are doing is going through the core components of Jira and showing you what Jira is built on. It’ll give you the knowledge you need to deal with Issues and see how those issue records can be managed.
We’re going to start out looking at what an Issue is (not any specific personal issues you might have). Just what an issue is in the eyes of Jira. We’ll see how those issues can be grouped into projects to help us organize them. We’ll look at other ways of categorizing those issues by linking them to components and versions. Then we’ll move on and see how we build workflows to track the status of our issues. Finally, we’ll look at the basics of the reporting and dashboard capability. And, if we have time, we might even get as far as seeing how Jira’s powerful search capability (and JQL) work. What we’re aiming for, is to give you the foundation on which to build and grow your understanding of how to get the best out of using Jira- bugs or defects in a product or system
- a snag list for something you need to deliver to a customer
- a ticket that tracks a help request from a customer
- tasks in a project
 After clicking on the ‘Continue to MyAtlassian’ button you’ll have to set up an account (or use an existing account if you have one). Then select the ‘Jira Software (Server)’license type.
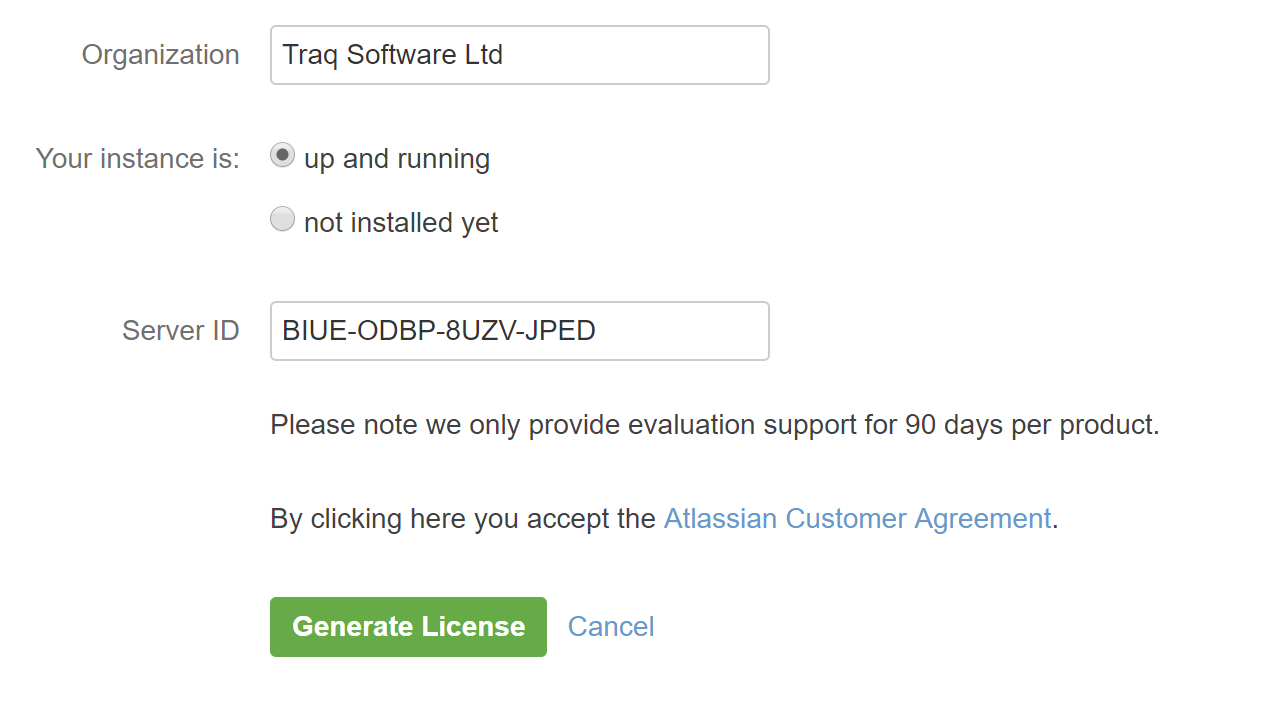
 Accepting the other fields with their default values you should then be able to click the ‘Generate Licence’ button.
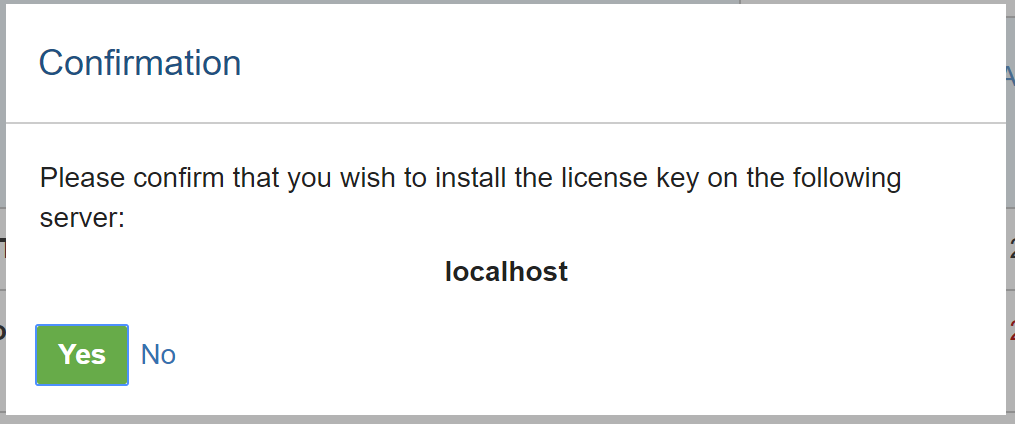
 And then confirm that you want to install the license key on your local system.
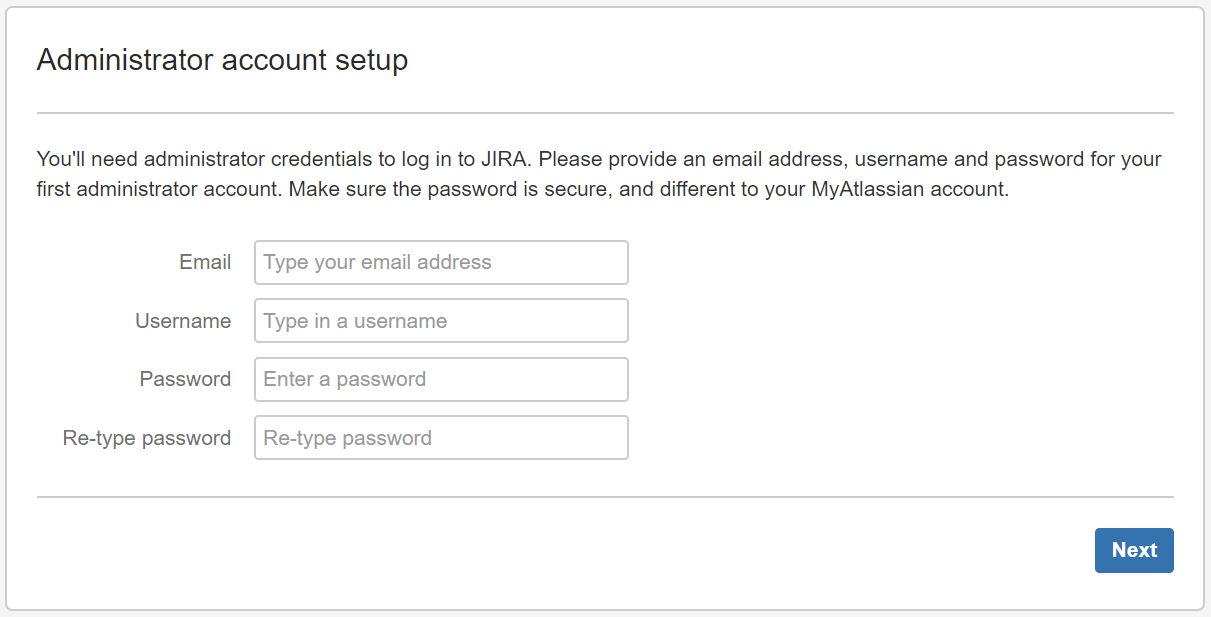
 On the next dialogue box, you’ll need to define some account details for the Jira system administrator. You can add your own email and password here (you’ll need these again in a minute):
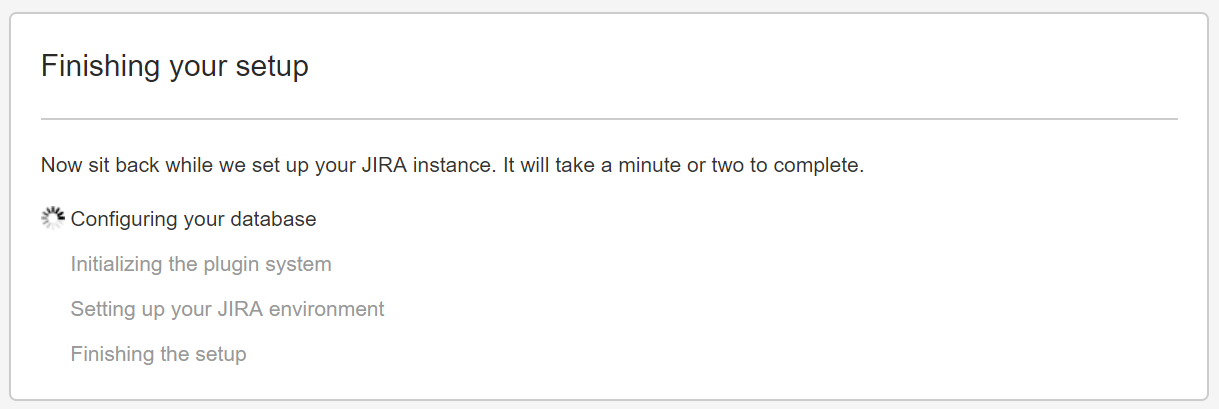
 After you’ve clicked on ‘next’ you should see the Jira ‘Finishing your setup’ message.
And after this, the ‘Jira is ready to go’ screen.
After you’ve clicked on ‘next’ you should see the Jira ‘Finishing your setup’ message.
And after this, the ‘Jira is ready to go’ screen.
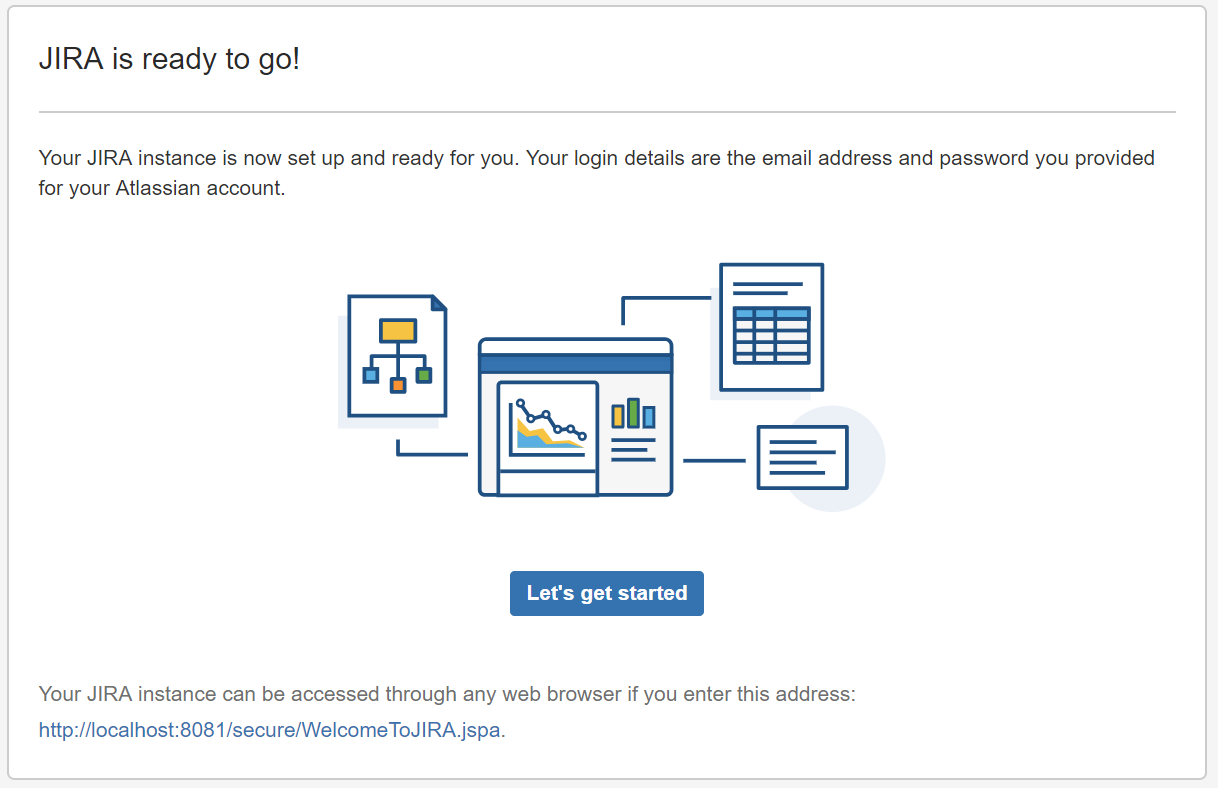 As this suggests ‘Let’s get started’. So we’ll click the ‘Let’s get started’ button. And at this point, we should be on the dashboard login page.
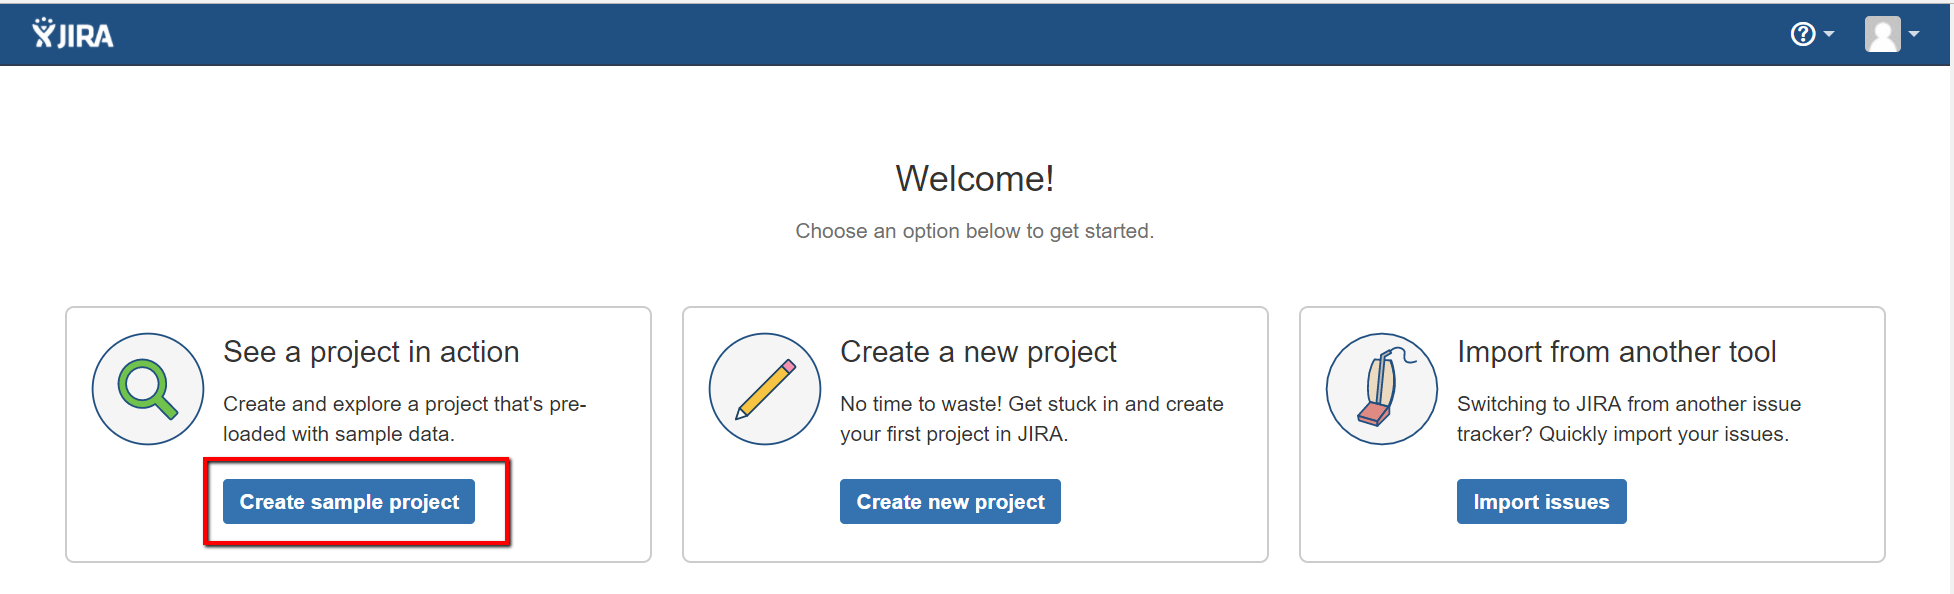
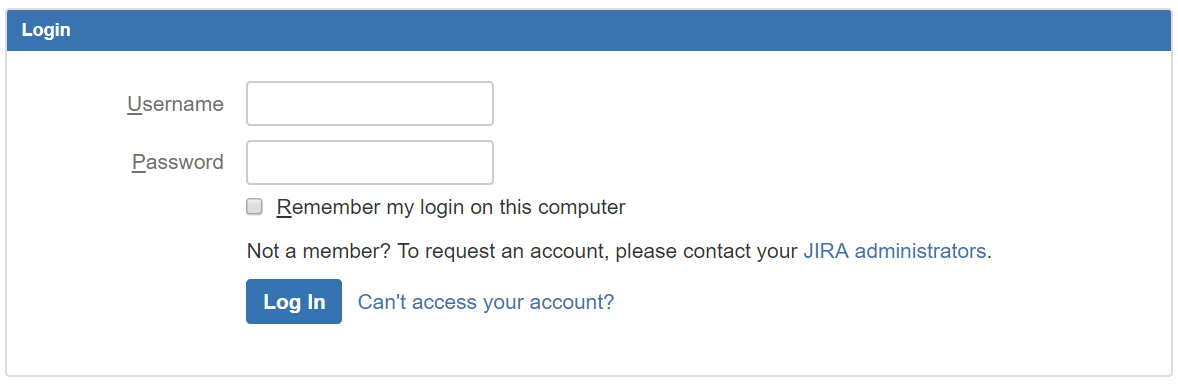 Using the Admin details you provided earlier you can now log in to your own Jira instance. Once you’ve logged in you can quickly set things up, just so that we can get started, by clicking on the ‘Create Sample Project’ option.
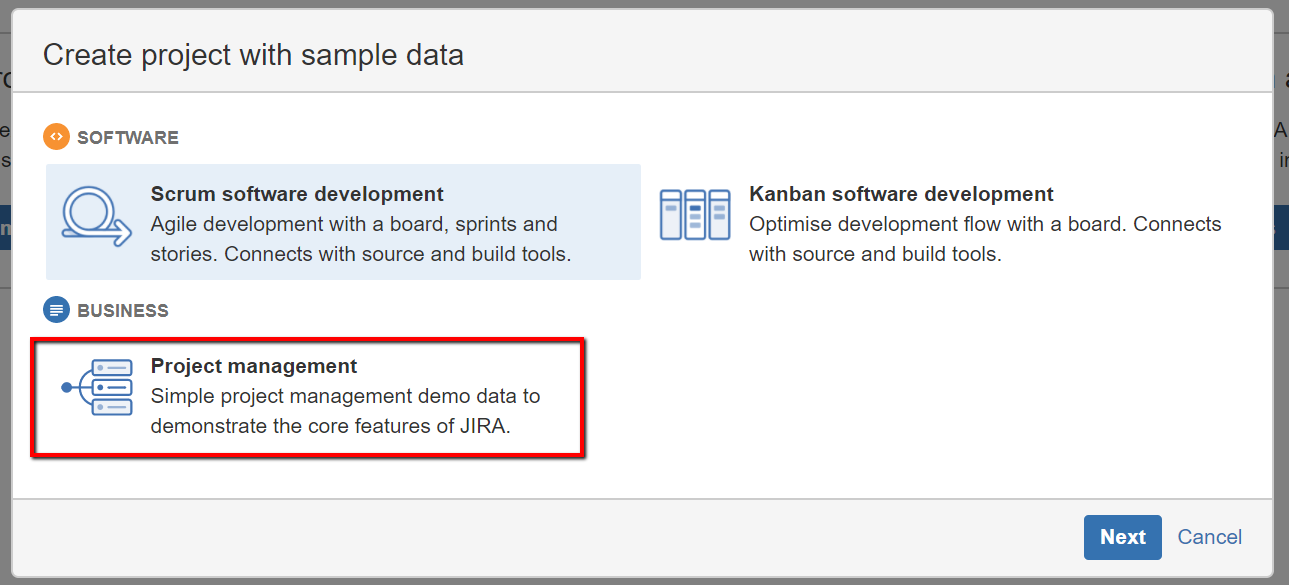
 And then select ‘Project Management’ so that we have a simple Jira project that we can work through the basics with.
 Give your project a name, something really inspiring like ‘ProjectOne’.
 Notice that Jira automatically gives your project a Key. You can modify this if you like but keep it short (three or four characters is usually best). We’ll discuss keys later on in the course.
At this point, you should be presented with the Project issue page for your new project, along with some sample data.
Notice that Jira automatically gives your project a Key. You can modify this if you like but keep it short (three or four characters is usually best). We’ll discuss keys later on in the course.
At this point, you should be presented with the Project issue page for your new project, along with some sample data.
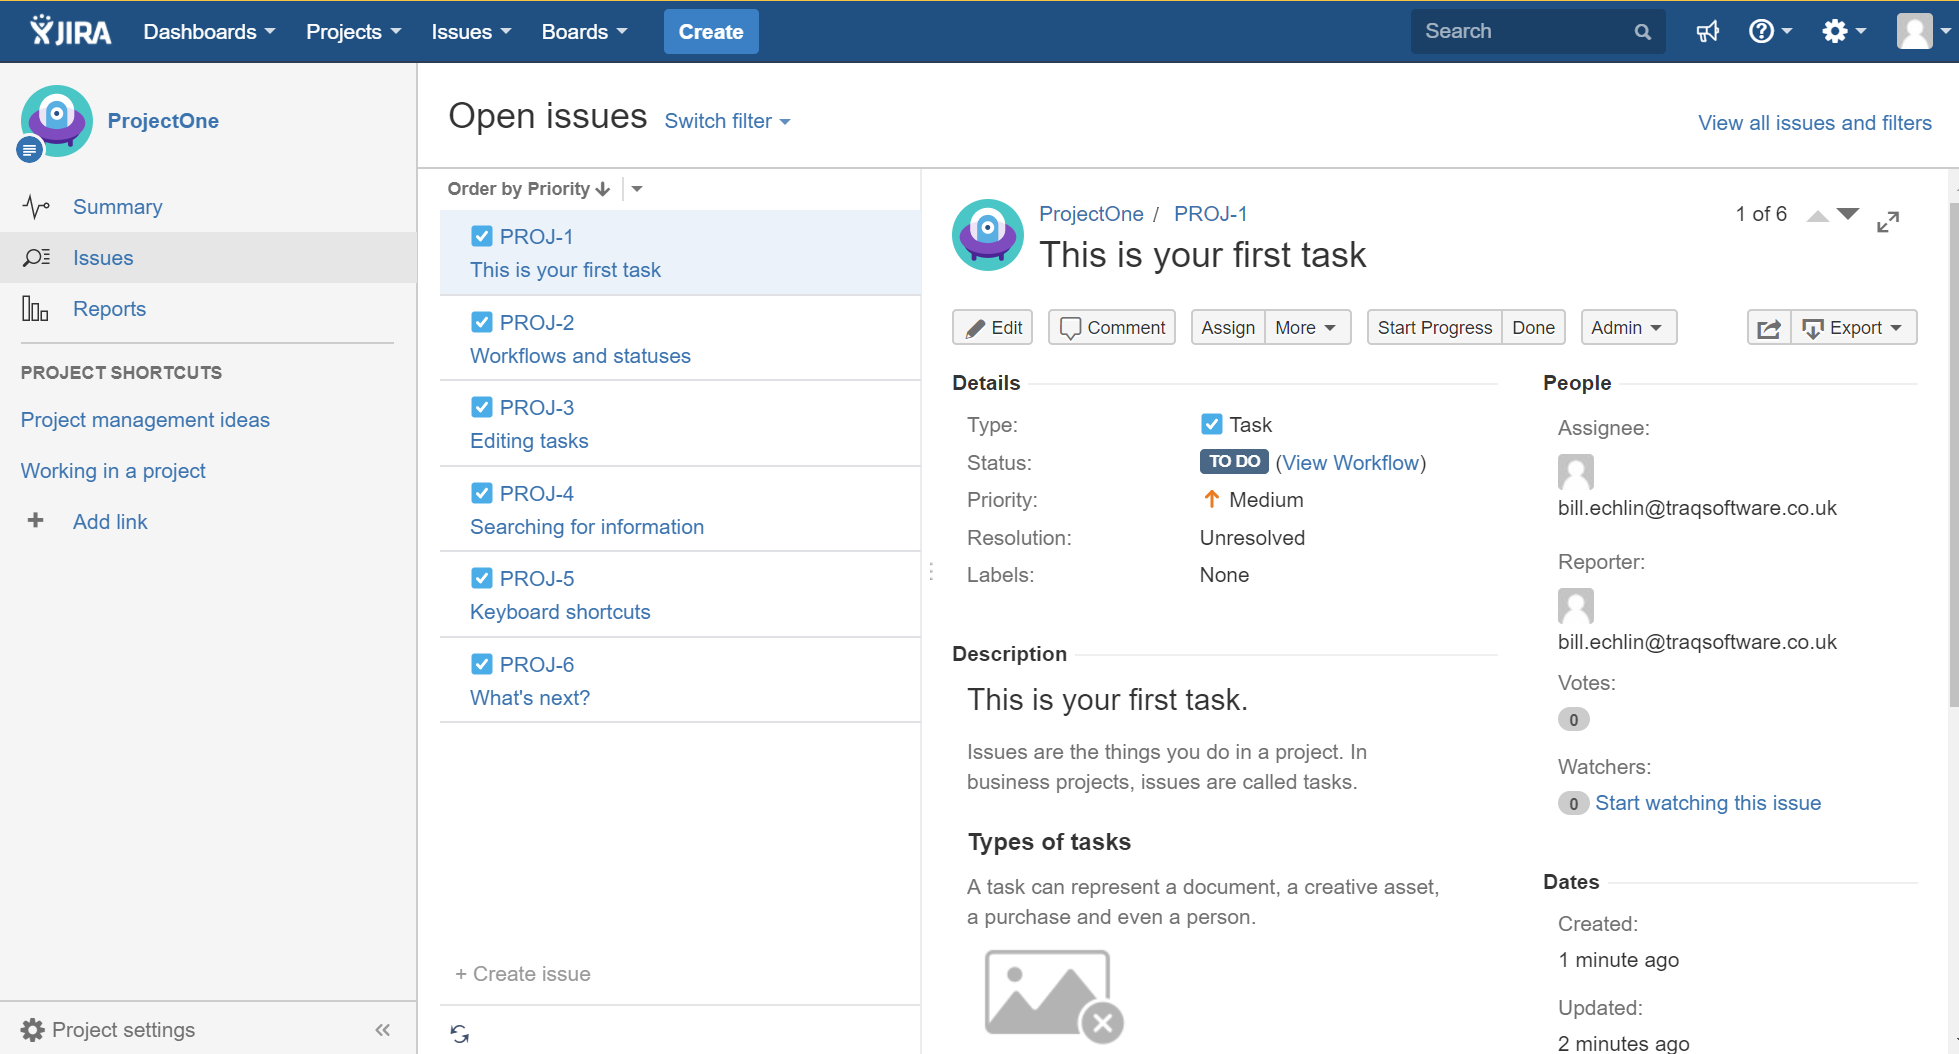 With this then we can start looking at some of the Jira fundamentals that you’ll need to understand from the outset.
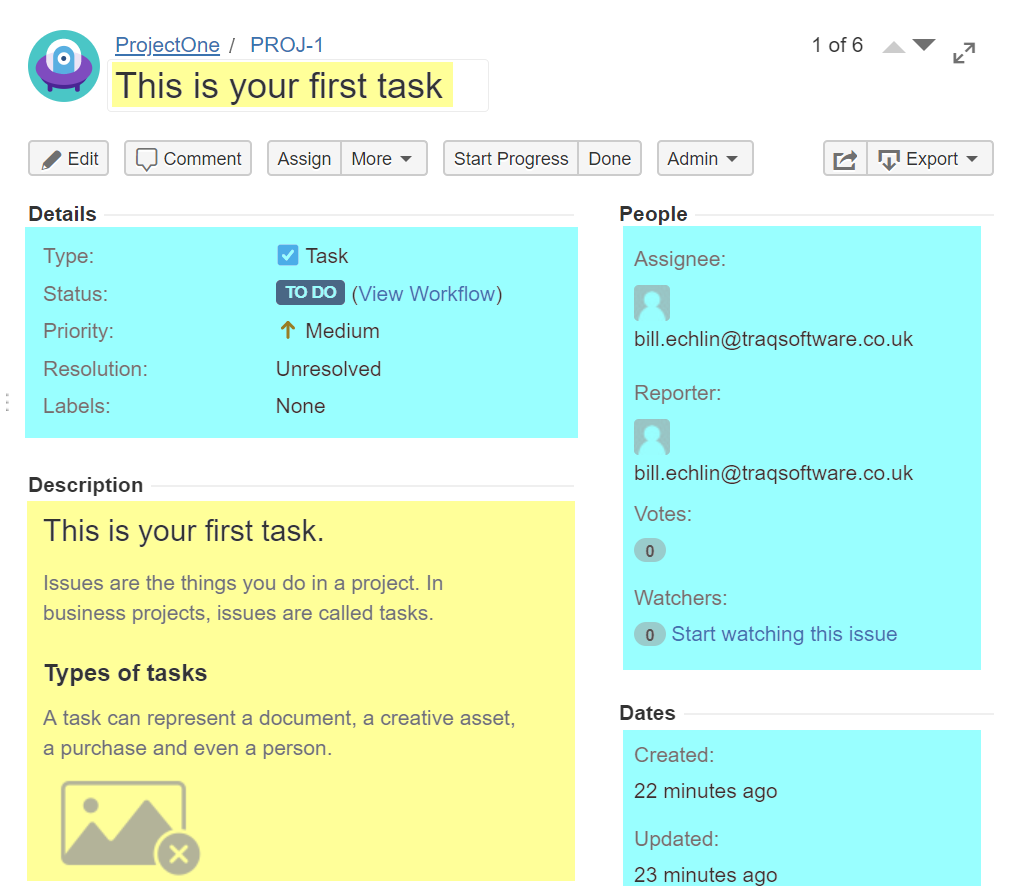 The information highlighted in yellow (the summary, description, and activity) covers the detail about the work we need to carry out. The information highlighted in blue (details, people, and dates) cover the properties that help us track this issue.
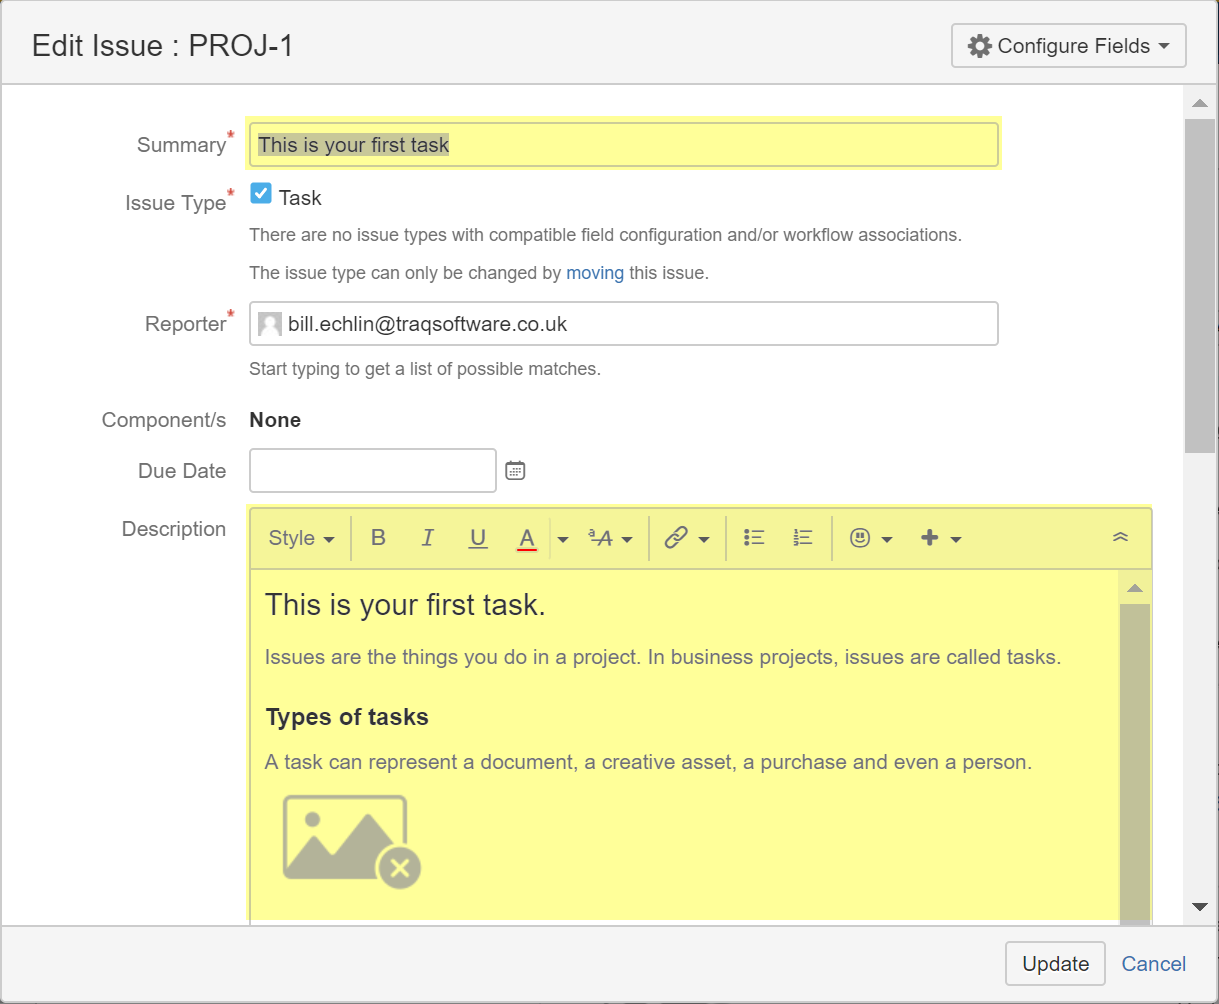
When you click on the Edit button (under the issue summary) you’ll see that you can update the issue information and the properties. Simple enough to grasp the Summary and Description sections. These fields just need to detail the work you want this issue to cover. Fill these in as you wish.
The information highlighted in yellow (the summary, description, and activity) covers the detail about the work we need to carry out. The information highlighted in blue (details, people, and dates) cover the properties that help us track this issue.
When you click on the Edit button (under the issue summary) you’ll see that you can update the issue information and the properties. Simple enough to grasp the Summary and Description sections. These fields just need to detail the work you want this issue to cover. Fill these in as you wish.
 It’s the properties on this issue we want to really focus on. It’s the properties that give Jira its power. It’s a powerful ability to track, categorize and organize all your issues.
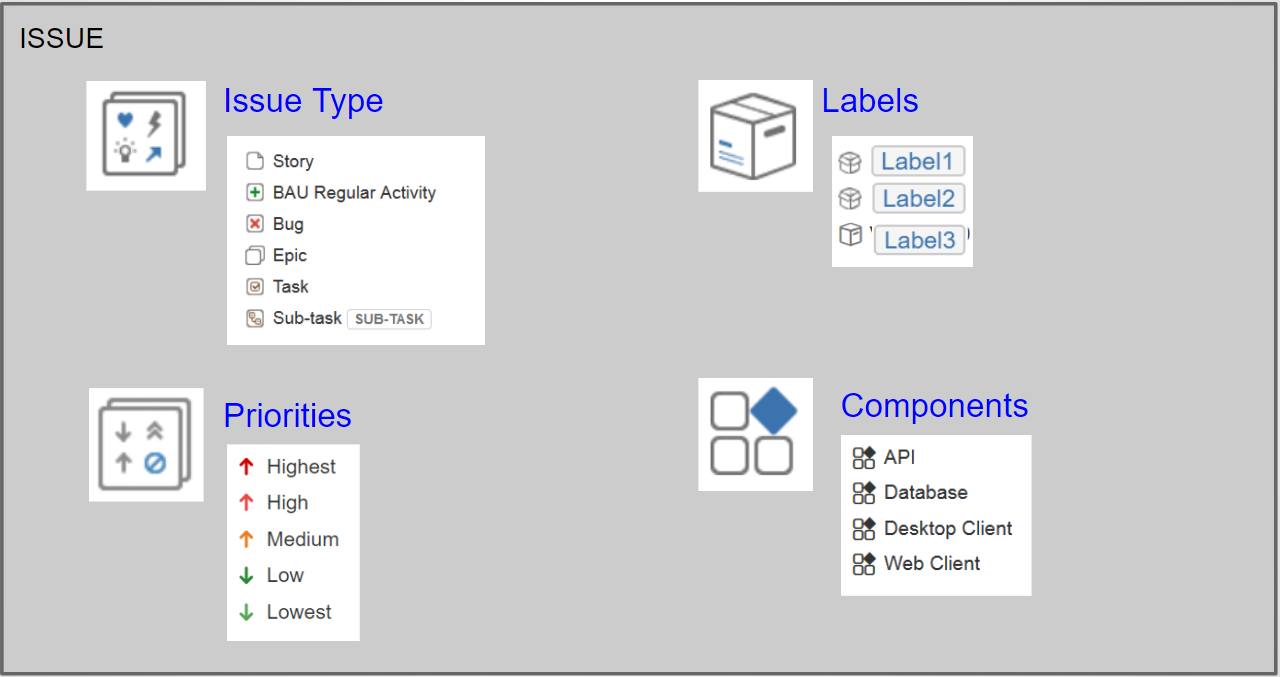
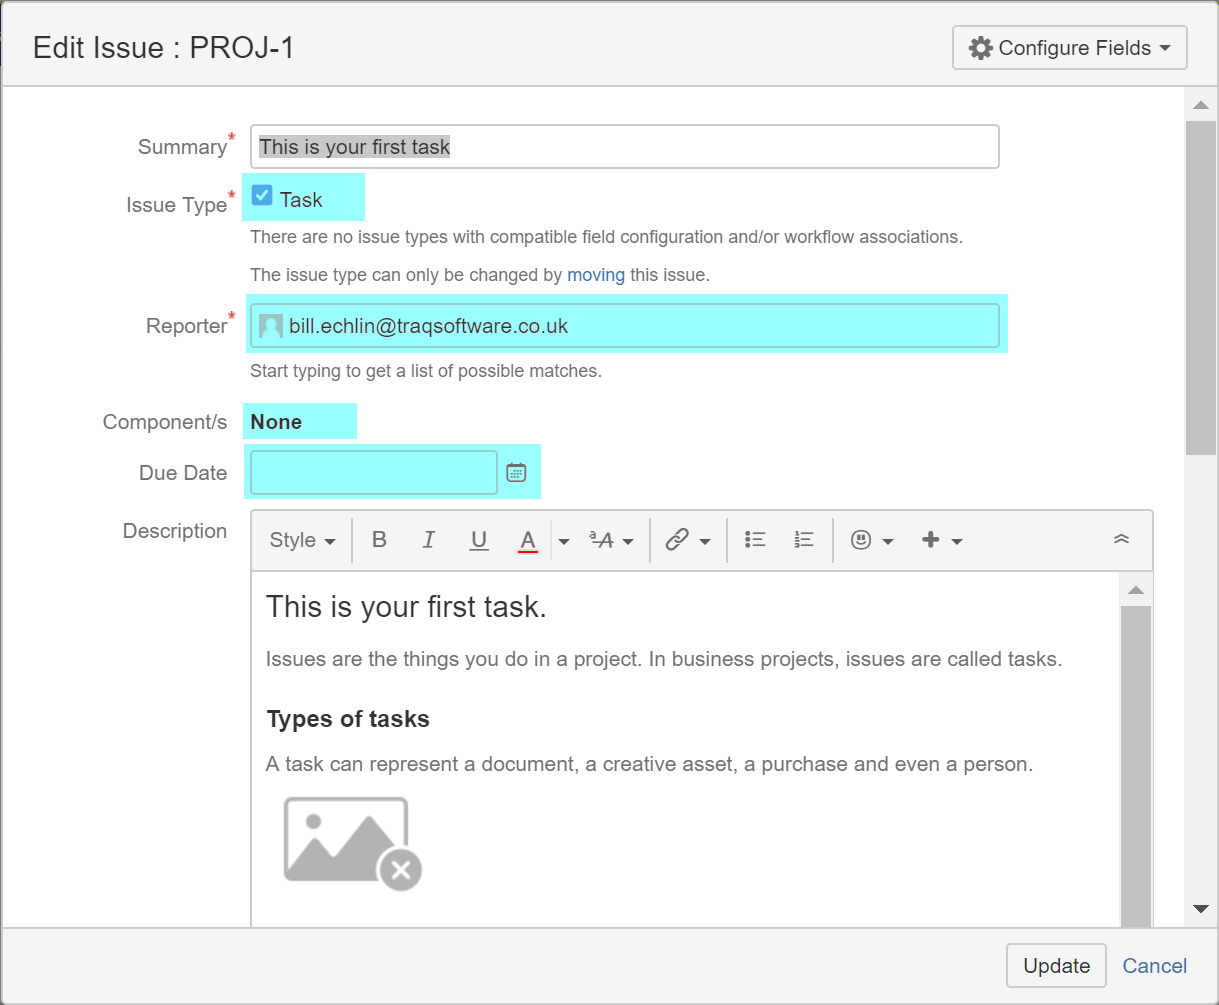 In this screenshot, you can see a few of the key properties highlighted (like Issue Type, Reporter, and Components). There’s a list of key properties that we really need to explain here and there are some that are really obvious… so obvious that we won’t cover them (like a reporter and due date). Others that need a little more explaining.
Issue Type:
When you create an issue, depending on your Jira configuration, you can categorize your issue with a Type. In the basic setup, this will just be a 'Task' type. So an issue you create that is of Type = Task is an issue to track a task you need to complete. In more advanced setups we'll create other issue types to track things like Epics and Stories that you might record in Agile projects.

Status:
An issue progresses through a workflow of status values. Again in this simple project we only have a few status values that include To Do, In Progress and Done. The status you set your issue too shows where you're up to with this piece of work. In this simple setup, for example, you can move the status to 'Done' when you've finished the work that this issue record is tracking.

Priority:
We can set the importance or priority of this issue to one of five values. Highest, high, medium, low and lowest. Again this is just another way of categorizing our issues, in this case, so that we know which ones to work on first.

Resolution:
Sometimes it's useful to track what you did to resolve the issue. For example when we move our issue to a status of 'Done' what did we do to get it done? Maybe this issue task was a duplicate of another issue in the system. In which case the work might 'Done' but the resolution value would be 'Duplicate'. Think of the resolution as the value that tells you 'what you did' to complete the task. Did you do the work? Was the work already done (e.g. duplicate issue)? Or did you just decide not to do it (e.g. Won't Do).

Labels:
Labels can be used to categorize your issues. This is a free format field so doesn't need setting up with pre-configured values like the others. Just type one or more labels in the field and that label is assigned to the issue. This is useful for categorizing and searching for issues later on... especially when you get to 100's or even 1000's of issues.
 We have whole modules dedicated to these concepts later. So don’t worry if you haven’t grasped the detail. It’ll become clearer. Now you’re aware of the concepts let’s see how they work in practice. We’ll create our first issue.
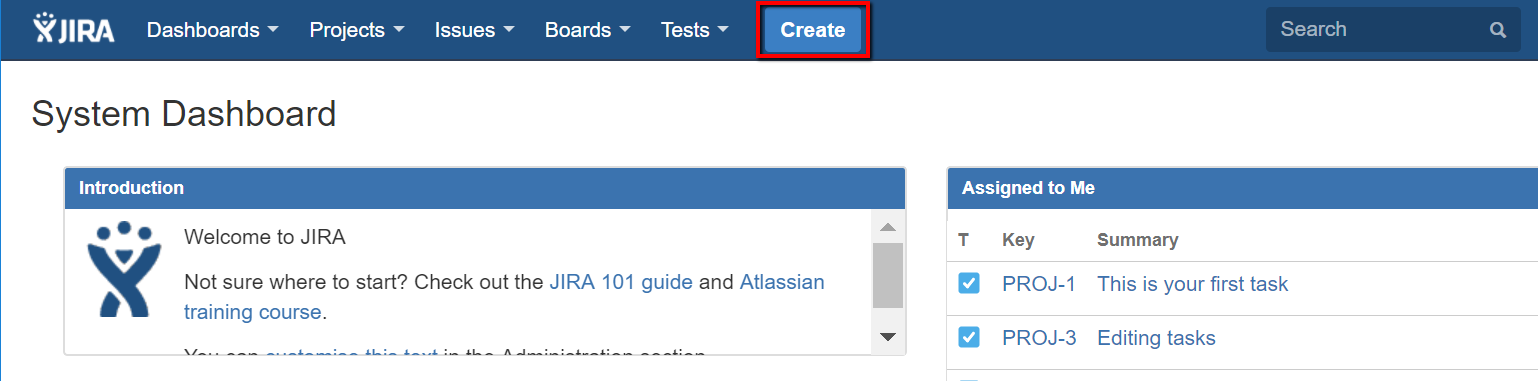
To finish off on this module then let’s quickly create our first issue. Whichever page your on in Jira you’ll always find the top menu bar with the ‘Create’ button…
We have whole modules dedicated to these concepts later. So don’t worry if you haven’t grasped the detail. It’ll become clearer. Now you’re aware of the concepts let’s see how they work in practice. We’ll create our first issue.
To finish off on this module then let’s quickly create our first issue. Whichever page your on in Jira you’ll always find the top menu bar with the ‘Create’ button…
 Once you’ve clicked on this you’ll be presented with the Jira ‘Create Issue’ dialogue box. Simple enough to start out creating your first issue by completing the mandatory fields (marked with the red * symbol):
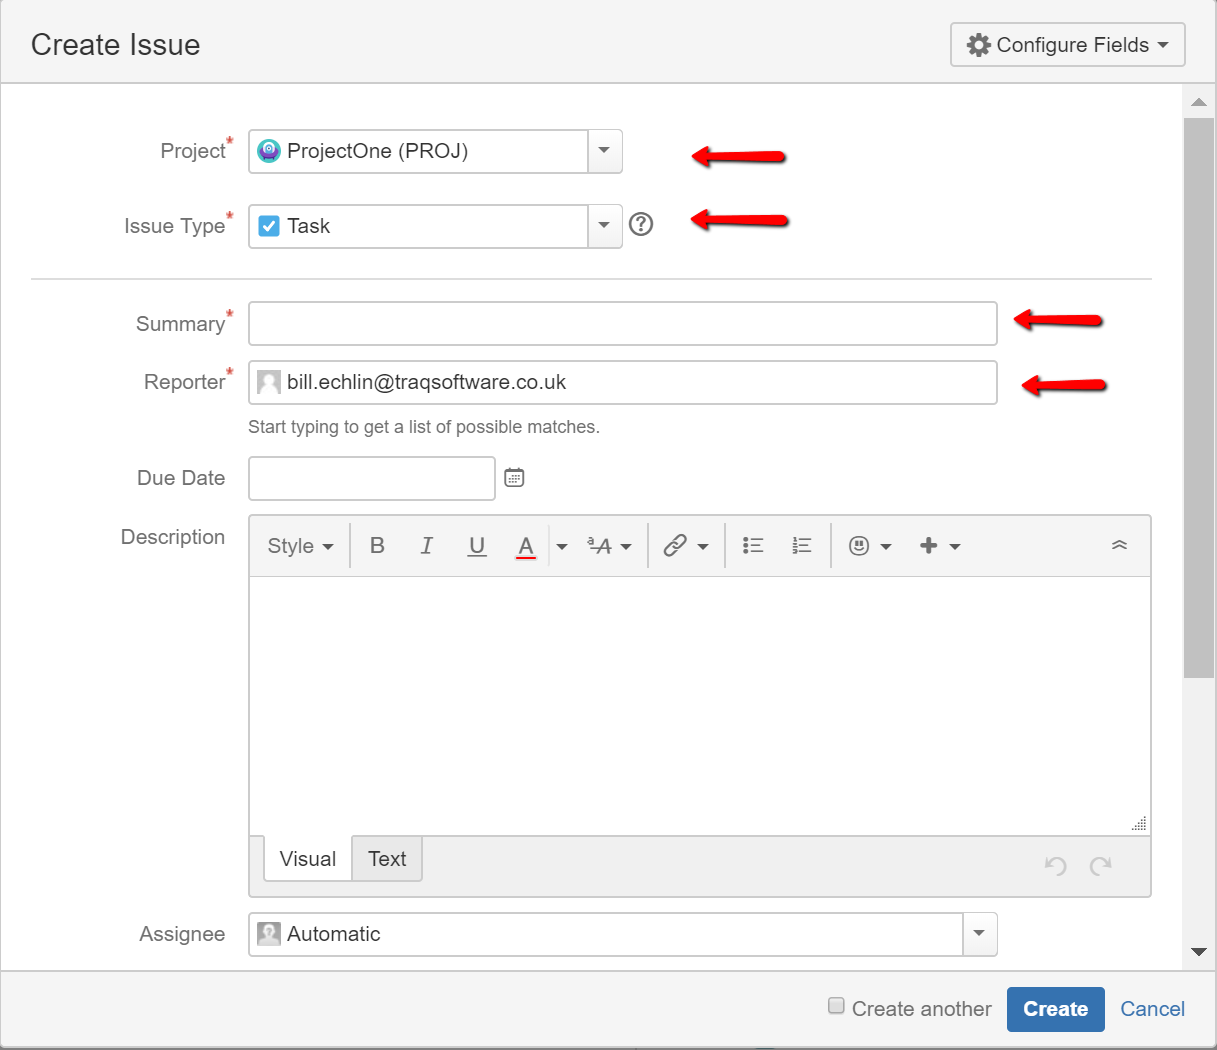 If you’re in a hurry then most of the fields are already populated with default values and you need to enter a Summary. The default values like Project, Issue Type, and Reporter can be updated if you want to. More importantly, it’s worth adding a description too if you want a little bit more detail.
You’ll find a few more fields on the bottom half of the dialogue box too.
If you’re in a hurry then most of the fields are already populated with default values and you need to enter a Summary. The default values like Project, Issue Type, and Reporter can be updated if you want to. More importantly, it’s worth adding a description too if you want a little bit more detail.
You’ll find a few more fields on the bottom half of the dialogue box too.
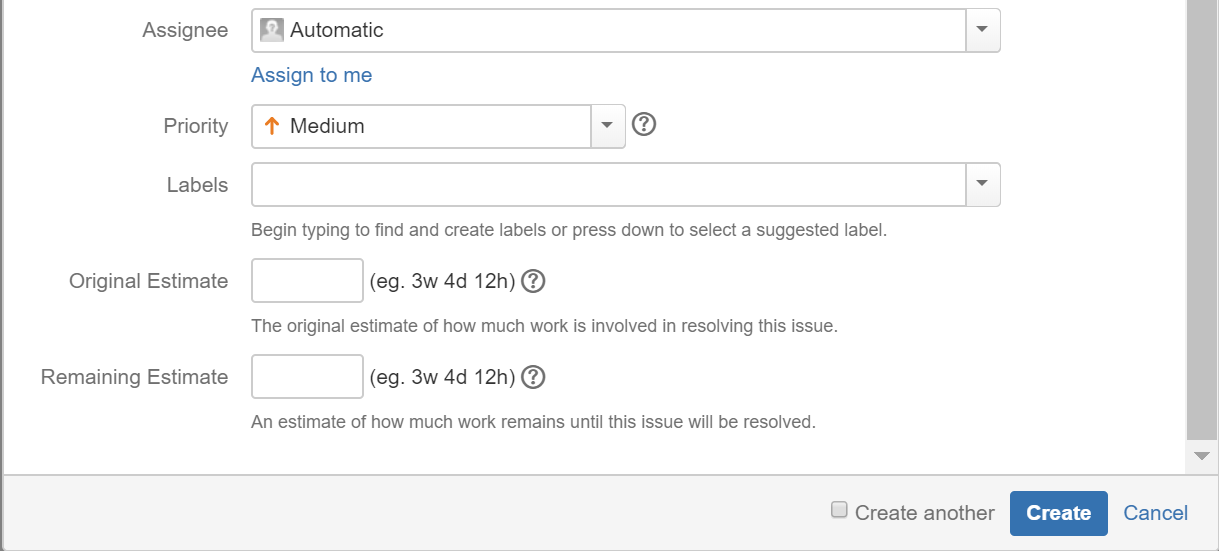 Here you can assign the issue to someone and set a priority. If you want you can enter some free format labels too (just a way to categorize your issues – we’ll look at these later). Once you’re happy with that then it’s time to click the ‘Create’ button.
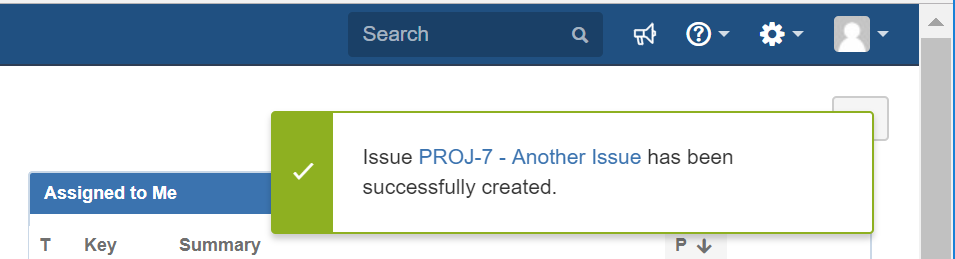 At which point you should see the pop up ‘Created’ notifier. If you’re quick you can click on the link and view your newly created issue. If you’re not quick you can always refer to the ‘Issues’ drop-down menu and look for your ‘Recent Issues’.
You’ll find the issue you’ve just created will be listed here too. Click on the link and you can view your first issue record.
At which point you should see the pop up ‘Created’ notifier. If you’re quick you can click on the link and view your newly created issue. If you’re not quick you can always refer to the ‘Issues’ drop-down menu and look for your ‘Recent Issues’.
You’ll find the issue you’ve just created will be listed here too. Click on the link and you can view your first issue record.
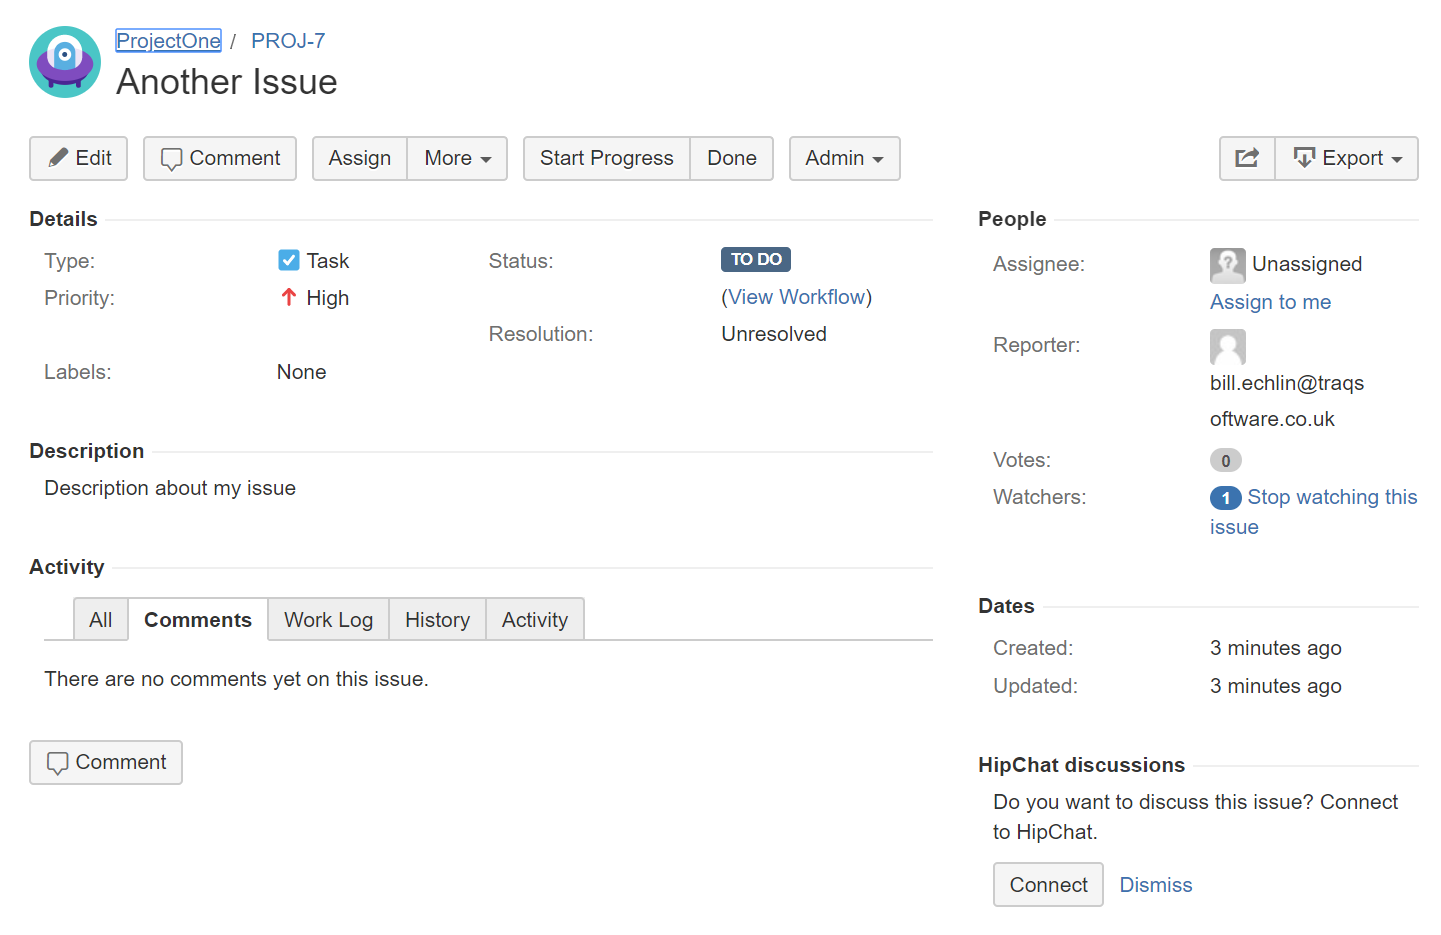 From here you’ll see all your issue information. A few things worth pointing out though…