Finally we get to the point where we can start looking at the creation of automated tests with Keyword Testing in TestComplete. We’ve looked at some of the key components like Managing Projects, Options and Settings. We’ve also seen how Objects, Properties and Methods are critical to the tests you write. All of these components and concepts are part of the foundation you need in order to start creating automated test cases. You have that foundation now. From here on in it’s all about creating tests.
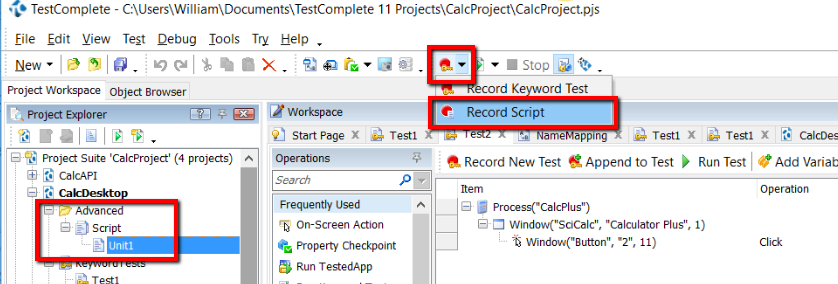
You may or may not have figured out that you have two ways to create automated tests in TestComplete. Scripted (e.g. Python, VB, Java Script, etc) or Keyword graphical drag and drop. We’re looking at creating Keyword tests here but if you’re keen to jump ahead you can record Scripted tests by clicking on the ‘Record Script’ button. Scripts you record are then stored in the ‘Advanced’ folder under the script element in the file or unit you chose.
Anyway, that’s not why we’re here. We’re here to look at keyword tests. This is the graphical, drag and drop approach to creating tests. There are two ways to create these types of tests.
1) recording tests (either appending or creating new)
2) using the operations panel to build or modify your tests by hand
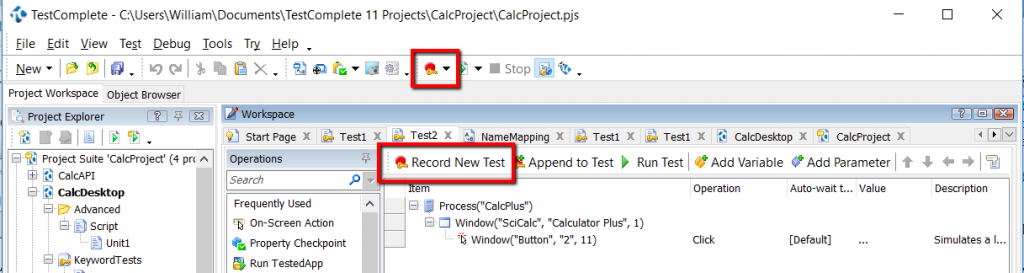
The record approach is straight forward enough. Click the record button, complete your actions on the application under test and stop recording. Then view the test items/steps listed in the Test.
Whilst that’s the simplest way to go about it you’ll probably learn more about what’s going on if you build your tests from the Operations panel. Certainly if you want to modify and manipulate existing tests then learning to use the Operations panel is going to be important.
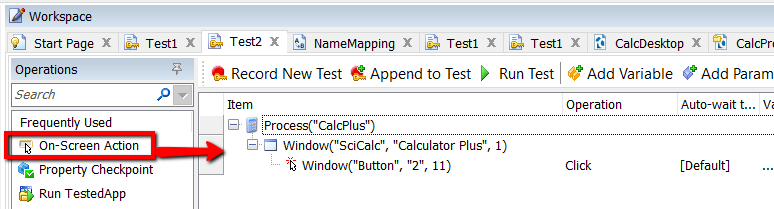
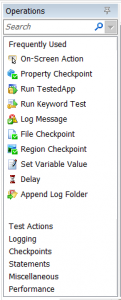 From the operations panel you have the ability to add all sorts of operations or actions to your tests. Just drag and drop the operations into the appropriate parts of your existing tests. When you take this approach you see what makes up a test item/step in more detail. For example one common operation you’ll work with is the ‘On-Screen Action’ operation.
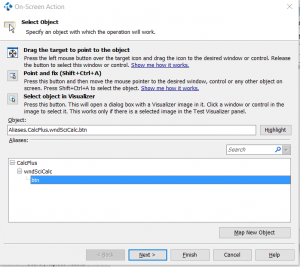
When you drag this item onto your test you’ll be taken through a few steps:
1. Select object you want to interact with
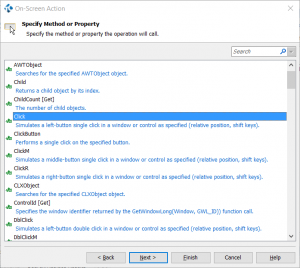
2. Select method you want to call for object
3. Specify the Values or parameters required for the method
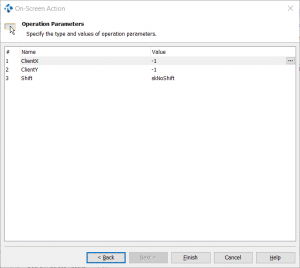
It breaks down quite simply to selecting the object you want to interact with, specifying the action/method you want the object to carry out and then define any values/parameters required (this might be the coordinates you want to click a button at or the text content you want entered in a text box).
Once you’ve gone through this it’s easier to understand the data displayed on the test case work-space for each of the test items/steps.
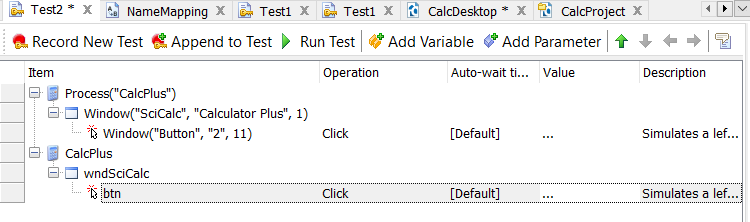
For each test item/step you see the columns:
1. Item or Name of the object you want to interact with
2. The Operation / method or action
3. Time you’ll wait for the object to be displayed (optional)
4. Parameters and/or values to use
5. Free format text description
All of this information is displayed on the ‘Test Steps’ tab in the Test Case workspace. You’ll also find tabs for Variables and Parameters that can be defined for a Test Case.
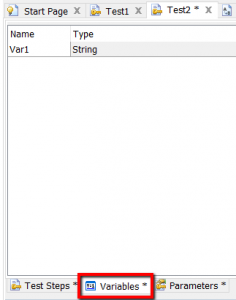
Variables contain values that can be used at run time and that can be changed at run time (e.g. whilst the test is running). So for example you might set a variable that’s used to count the number of times that you loop through steps repeatedly in a test. There are many uses for variables but the important thing to remember is that they are set when you are running the test and can be modified during the execution of the test.
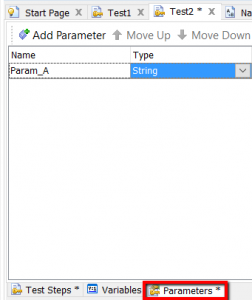
Parameters can be thought of as values that are fed in at start of the test execution. They are not modified during the running of the test. Just set at the start and then used during the execution. Typically you might have a test that has parameters and then call the same test multiple times, each time with a different parameter value. So you follow the same test steps/actions each time just use different values each time you run the test. Just remember that Parameters are fed in at the start of the test and don’t change whilst the test is running.
Those are the key concepts to grasp when creating keyword tests. Either record your test steps or build them up using the different operations from the operations panel. Each test step has an object it interacts with (i.e. a button object), an operation or method that it completes (i.e. clicking the button). Sometimes there’s also a value that is set (i.e. entering a text string in a text box).
As part of the test you can also set variables and parameters. Variables are values you can use during your test run and values that you modify at run time. Parameters are values that you feed in as you start your test. So you can run the same test multiple times with different parameters. Parameters can not be changed or modified during the run of the test.
Remember those concepts and everything else will start falling into place as you build more and more complex test scenarios. In the next module we’re going to look in a little more detail at Projects and Project suites. We’ll also see in the next module how we can utalise the power of test case Parameters at the project level.