In this set of tutorials, we’re going to take you through the basics of Subversion with Visual SVN Server and Tortoise SVN. Subversion (from here on in referred to as SVN) is a centralized Version Control System. That is, it’s a tool that allows us to version control files and collaborate on files. SVN deployed with Visual SVN Server gives us a server environment within which to maintain our files. Add to this a graphical user interface called “Tortoise SVN” and this gives us the simplest and quickest way for individuals to collaborate on files and version control those files.
SVN has been developed by CollabNet and is currently maintained by the Apache Software Foundation. It’s open source project and is predominately a command line tool (both for Windows and Unix). The home of SubVersion is the Apache Org Subversion website where you can download the source code (you’ll find many mirror sites that host the binaries for various platforms).
https://subversion.apache.org/
Separately to this, a company called VisualSVN Software Ltd have developed an SVN server application that works as a graphical front ends to the SVN server component. Then we have an independent Open Source project (GPL) called Tortoise SVN that provides a client front end for windows. At the core though is SVN. We’re just using Visual SVN Server and Tortoise SVN client because they are quickest and easiest ways to use SVN and start learning about SVN. Other front ends are available!
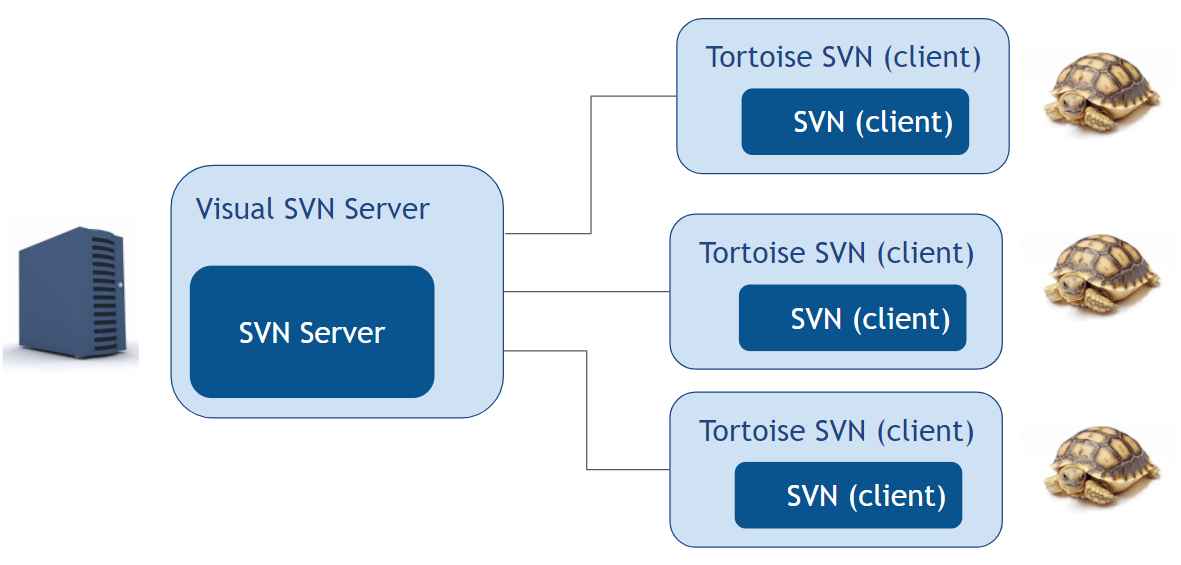
1. Visual SVN Server: a server applications, the central repository that holds all the files you want to version control, called Visual SVN Server
2. Tortoise SVN: the client application called Visual SVN, that allows you to manage your files locally, get your files from the server and commit your updated files to the server.
Let’s just go back to the main features of a version control system for a second. Those are …
a. version control of files
Version control of files is a simple concept in its own right. It just means we want to have a file that starts out as the “first version”. We make changes and save a copy of the file as the “second version”. If we want to go back too our original version we just open the ‘first version’ of the document.b. collaborate of files
When we collaborate on files all we’re looking for is the ability to share a file and for two or more people to be able to update that file. We can achieve this by either sending the file round in emails as an attachment or having the file on a shared file system where many people have access to this one file.
Both of these concepts in their own right are a simple concept that is easy to implement and easy to work with. The complexity starts to come when you what to combine both concepts and start having more than 2 or 3 people working on the files.
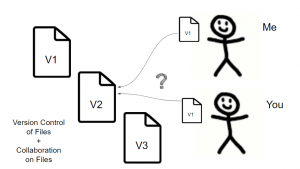
So, for example, you have a single file on a server and that file is at version 1. I take a copy of this file and updated it. At the same time, you take a copy and update it. I copy version 2 of the file back to the server so that it’s available for everyone else to look at an update. Then shortly after you copy your version of the file back to the server. Technically this is version 2 too. The worst bit though is that you’ve copied it back and overwritten my changes. All my work, in ‘my version 2’ is lost.
Or you could approach this another way. You have a single file on your computer and that file is at version 1. You send this in an email to your colleague and he/she updates it to version 2. At the same time though you update your version 1 of the file on your local system. Now you have version 2 of the file. And your colleague has version 2 of the file….. but both version 2’s of the file are most likely different. Who now owns the master?
It’s issues like this that SVN was designed to solve. However, being a command line tool doesn’t make SVN particularly easy to work with so the Visual SVN tools were developed to help people like you and me work with SVN. And it’s working with SVN, Visual SVN server and Tortoise SVN that we’ll be looking at over the next five tutorials.
We’ve broken this series of tutorials down into the following five parts:
In this, part 1, we’ll start by installing an SVN server from the Visual SVN website.
From this web page:
Download and install the appropriate version (32-bit or 64-bit) for your system. Run the .msi installer, accepting the licence agreement, the default settings and selecting the ‘Standard Edition’.
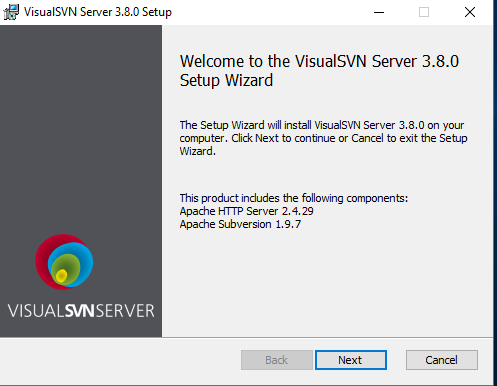
Once the install has completed click finish, making sure you select the ‘Start VisualSVN Server Manager’ option.

On the Visual SVN Server start page, there are two things that are two parts we’re interested in. First is the ‘Repositories’ section where we’ll create a repository to store our files. The second is the Users folder where we’ll define our users that will be allowed access to our repositories. That’s all we need to learn the basics, everything else is superfluous for now.
Let’s create some users first then. We’ll need to create two users so that we can simulate the actions of two users editing the same file later in the course. Follow these three steps:
1. click on the Users folder node and right click to select ‘Create new user’.
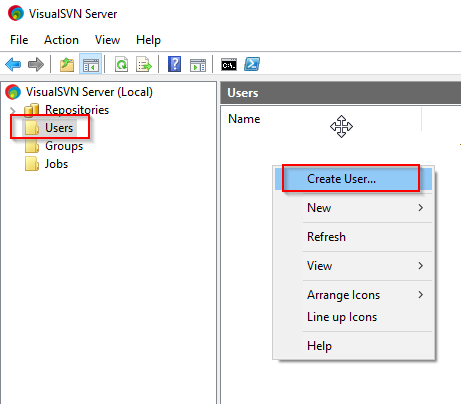
2. enter the user credentials and a password
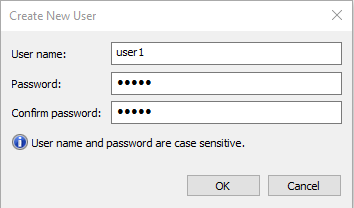
3. repeat the above to create a 2nd user
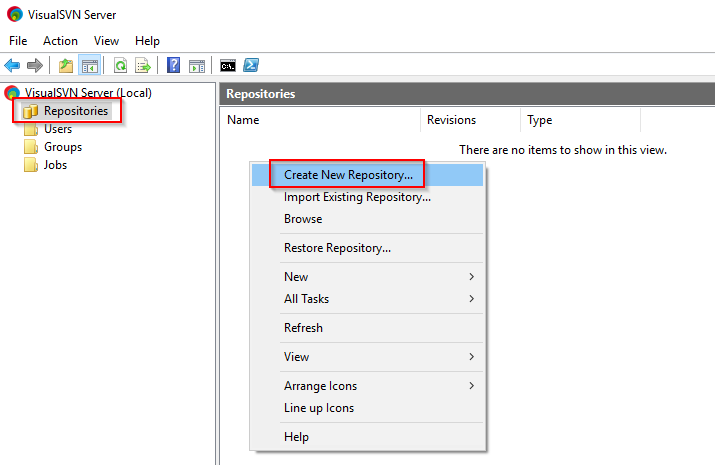
You can think of a repository as a container for a group of files. That might be a group of files for a particular project. At this point, we have our server running and we have two users configured. Now we just need to create that repository where we can store our files.
1. click on the Repositories node and right click to select ‘Create New Repository’.
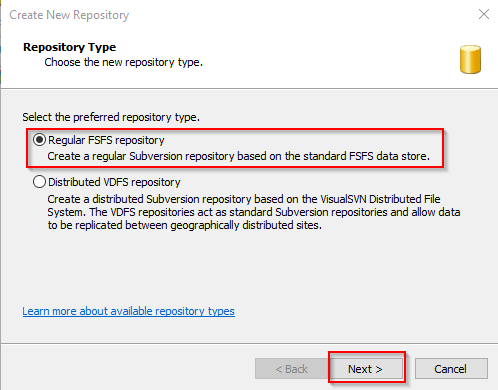
2. select the ‘Regular FSFS repository’ option and click ‘Next’.
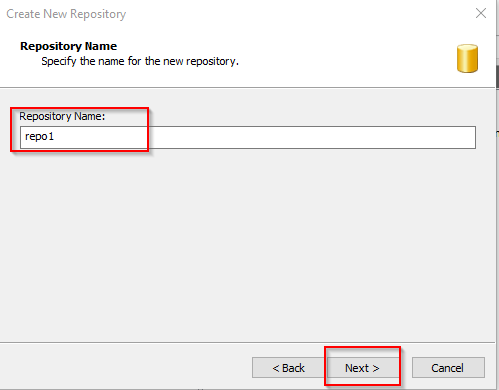
3. give your new repository a name and click ‘Next’.
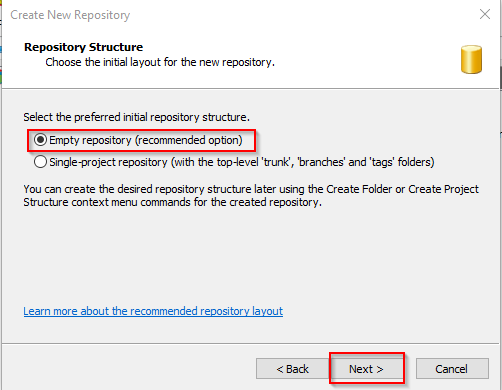
4. Select the ‘Empty Repository’ option and then ‘Next’.
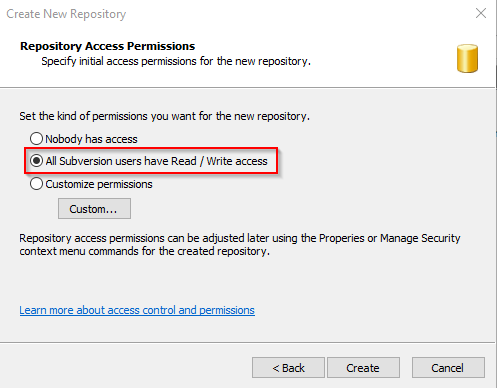
5. Finally, to keep things simple, select the ‘All Subversion Users have Read / Write’ access and then create the repository.
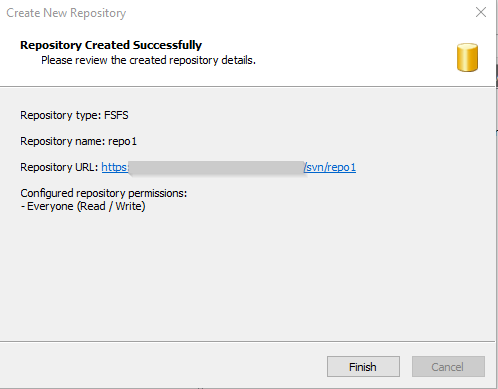
On the final dialogue box, you’ll see confirmation that your repository has been created. You’ll want to note these details down as these details will be needed when you point your SVN clients to the repository.
At this point, you should have 2 users created and 1 repository shown in the Visual SVN Server explorer side panel.
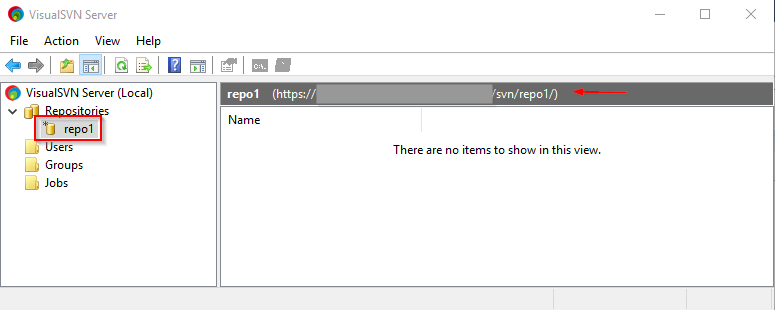
And with the Repository you’ve just created, you’ll see the URL for that repository listed in the ‘repo’ panel on the right-hand side.
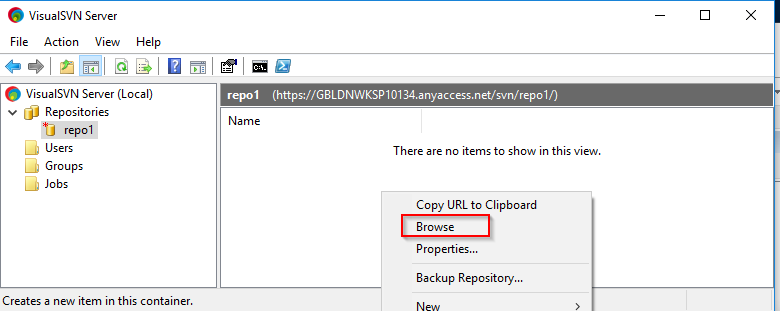
At this stage you can check the successful creation of the repository and that your users have access by right-clicking in the ‘repo’ panel and selecting ‘Browse’.
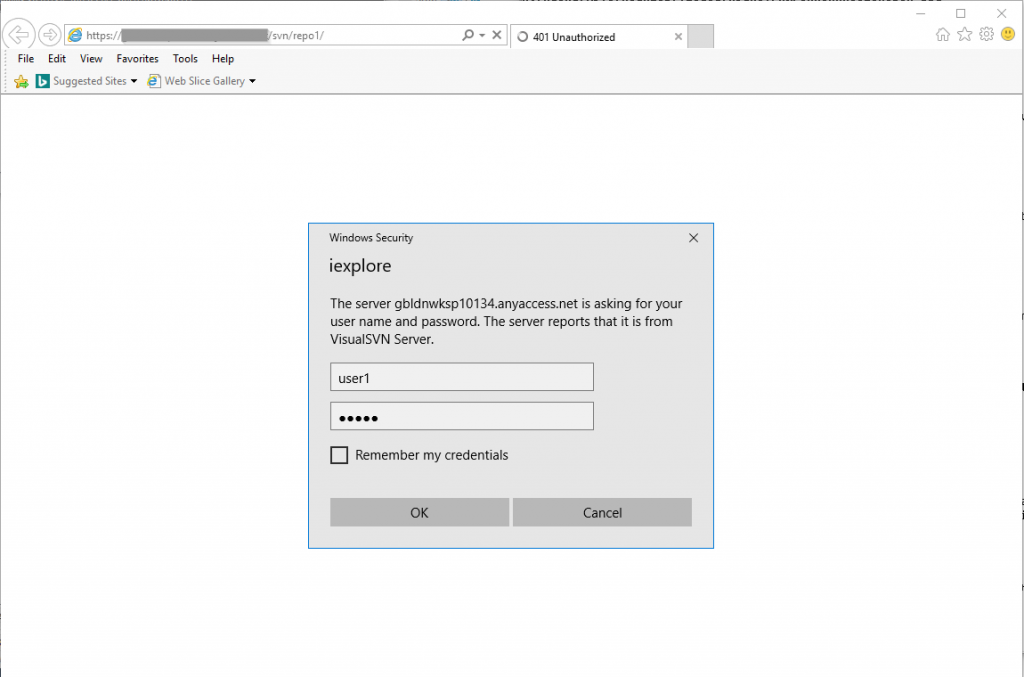
You should see a browser window open and a dialog box prompting for credentials. You can enter the credentials for one of the users you created:
Once you’ve logged in you should see the contents of the repository displayed in your browser window:
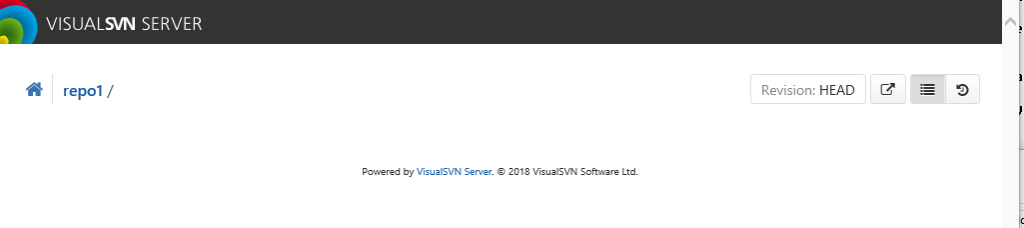
Not a lot to see at this stage but you can pick out the URL for the repository (shown in your browser address bar) and the name of the repo displayed top left. You’ll also notice the revision which is shown as ‘HEAD’. This just means that you’re viewing the latest version of all the files in the repository. Except that, at the moment we don’t have any files. It’s adding those files as a user that we’ll look at in the next module.