
 UNLEASHED FOR TEST AUTOMATION
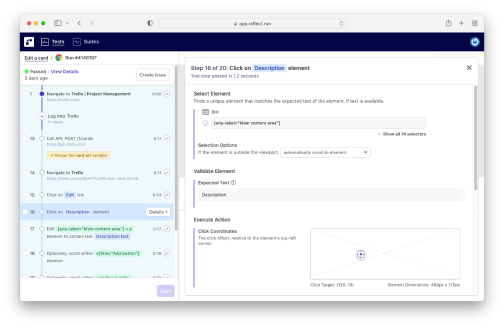
Simplifying end-to-end test automation without having to write code
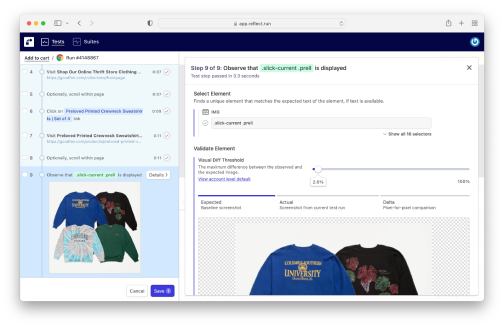
Ensuring visual perfection at speed with Al visual analysis before release
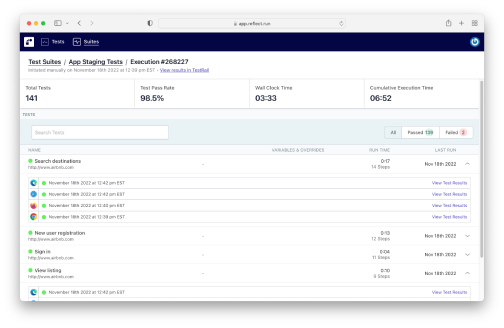
Seamless Cross-Browser Testing allowing
you to record once and run anywhere
As specialists in Test Management and Automated Testing we deliver solutions and services to help you construct a solid foundation for your test process. From tracking test cases, updating scripts, automating testing and recording results, we help you perfect your testing. Implementing proven tool sets we deliver solutions for your Agile and BDD testing challenges. We can support implementation for your team in five key ways.
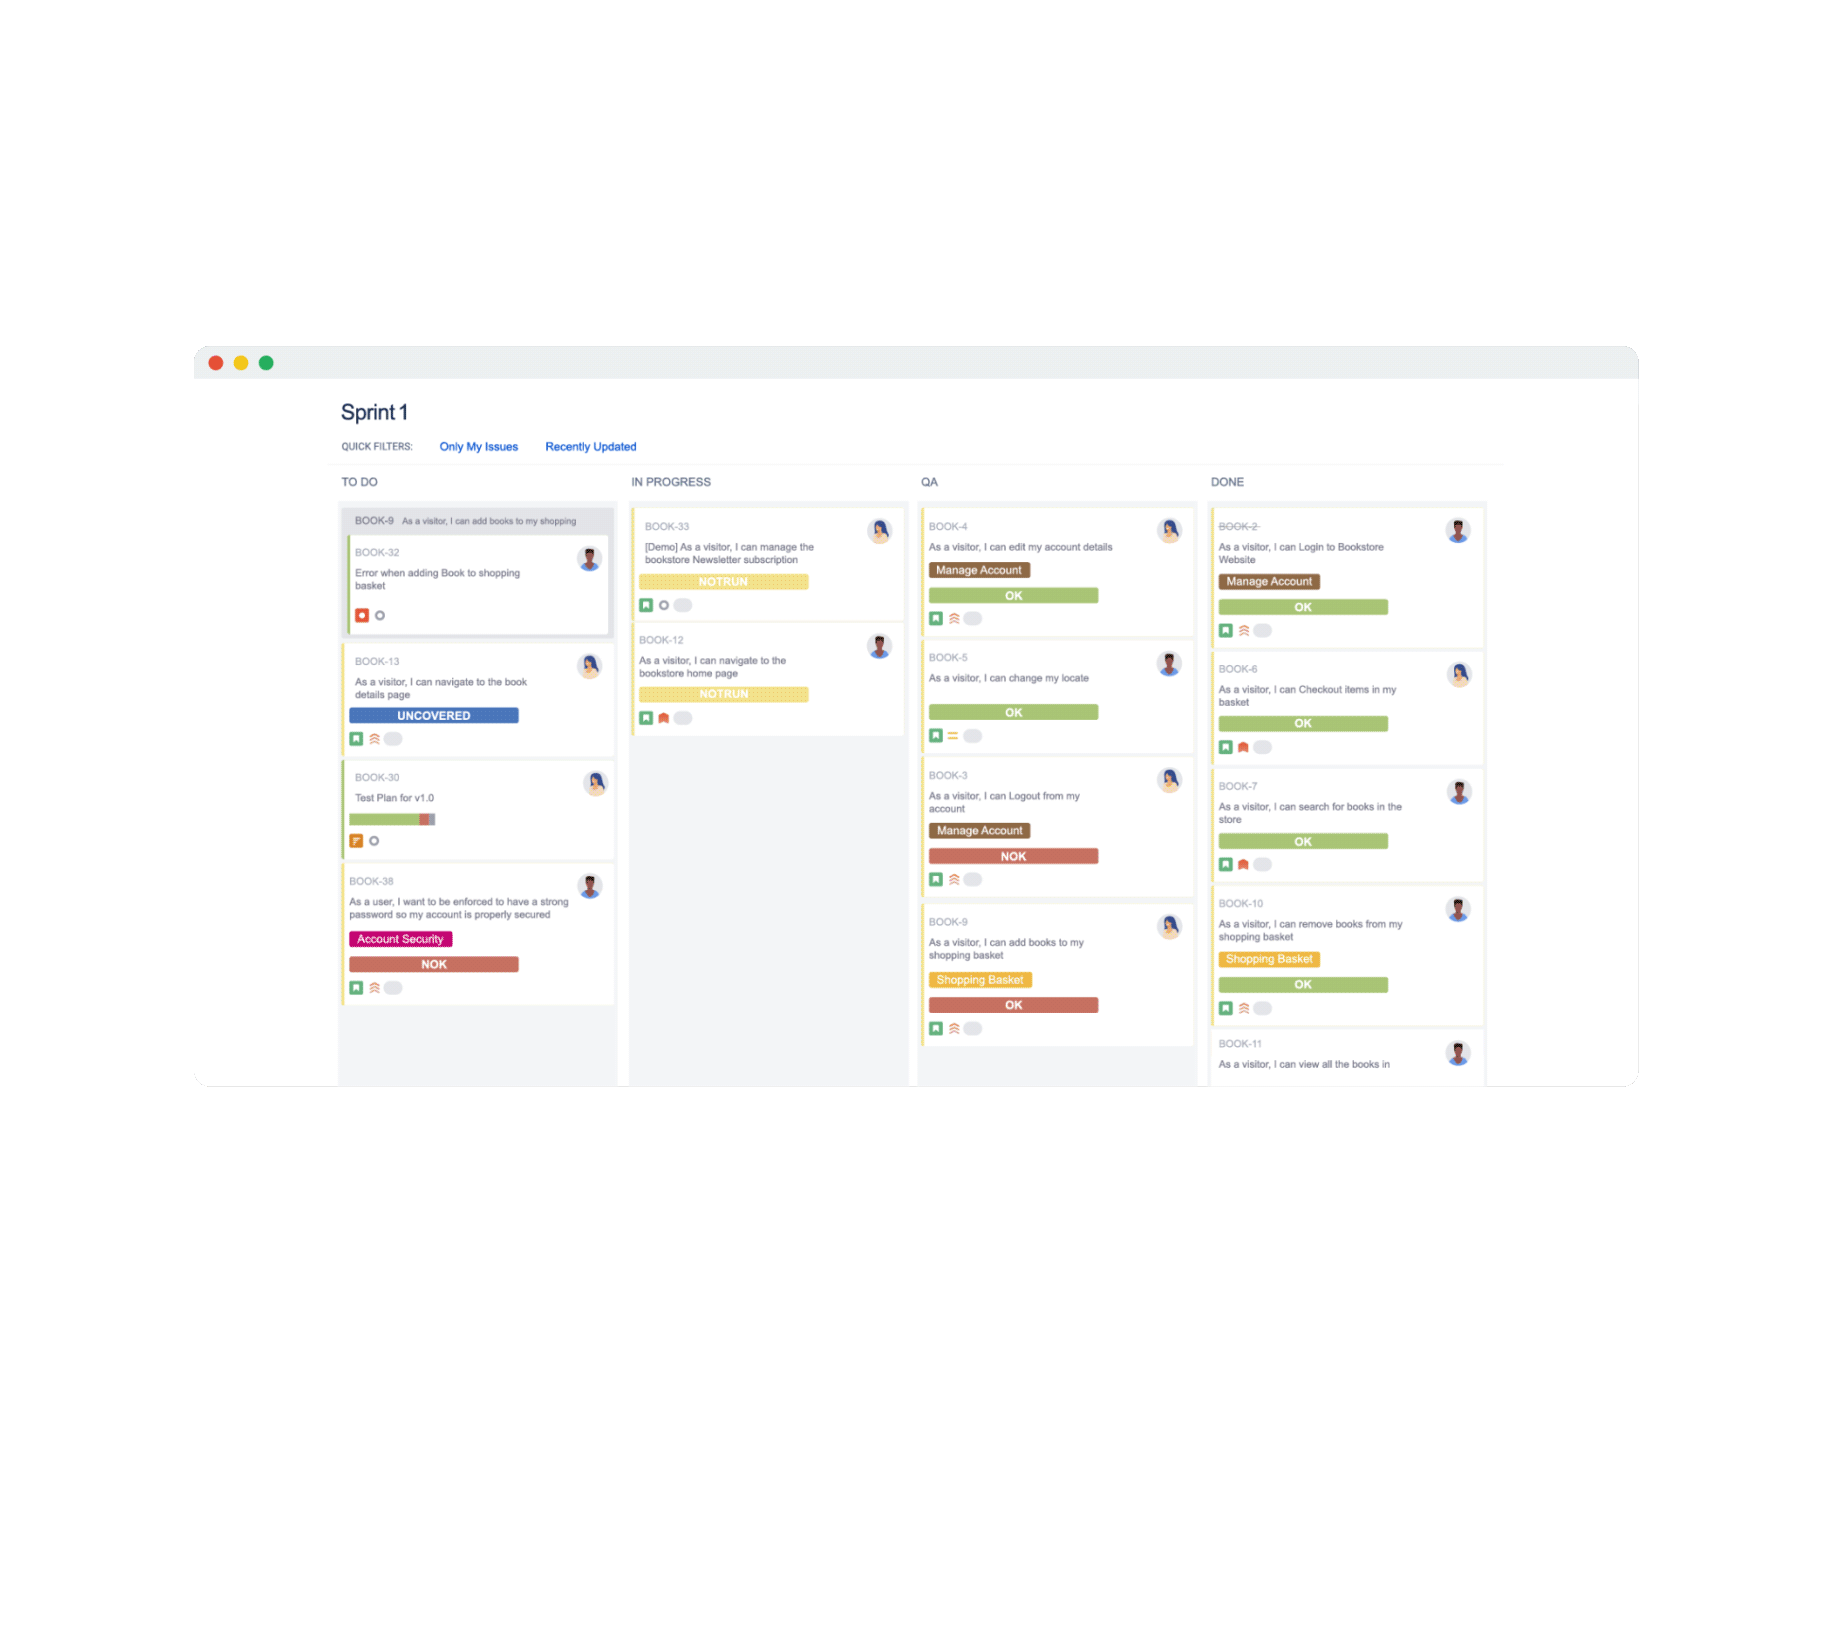
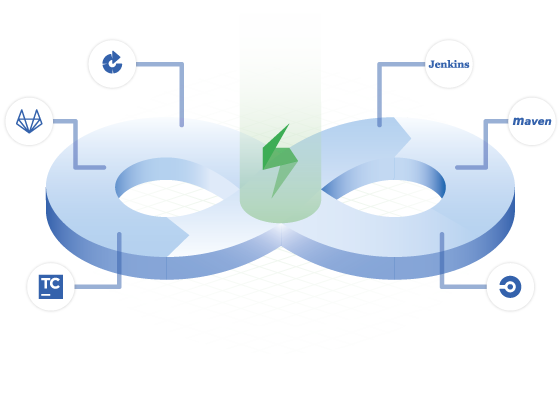


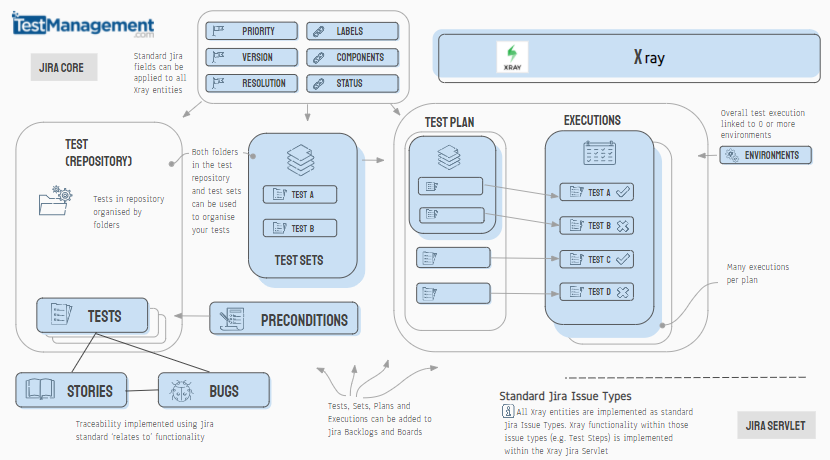
We deliver integrated solutions that give your agile team a single platform for managing test cases, test environments, automated tests, defects and test project tasks. Supporting all aspects of the test process, empowering the team with clear dashboards and tracking key test metrics.
It's about implementing solutions that provide visibility of your test process and ensuring the delivery of high quality software. Find out how we can help you improve your product quality, increase your team’s productivity and empower your team.
Learn more with a live web demo from our test management specialists.
Looking to implement a test management plugin for Jira? We compare and analyse the top 4 Jira Test Management tools in detail Find out what the best test case management tool for Jira is.

Three white papers giving you the secrets to successful software test automation.
1. The Test Automation Check List (Open the Pdf Article)
A list of checks that should be covered when implementing, monitoring and rolling out a test automation project. 59 essential questions to ask before you take another step.
2. Implementing Test Automation Tools (Open the Pdf Article)
Describes the Plan-Do-Check-Act process to help ensure the success of your test automation projects, providing you with a proven implementation framework.
3. The Test Automation Business Case (Open the Pdf Article)
A guide to help you get sign off for your test automation project. Helping you secure the resources and finances required to implement your test automation project.


Understand the paradox facing every test team and find ideas to help you increase your team’s performance.
A step by step process for selecting and choosing the right test tools for you and your team.